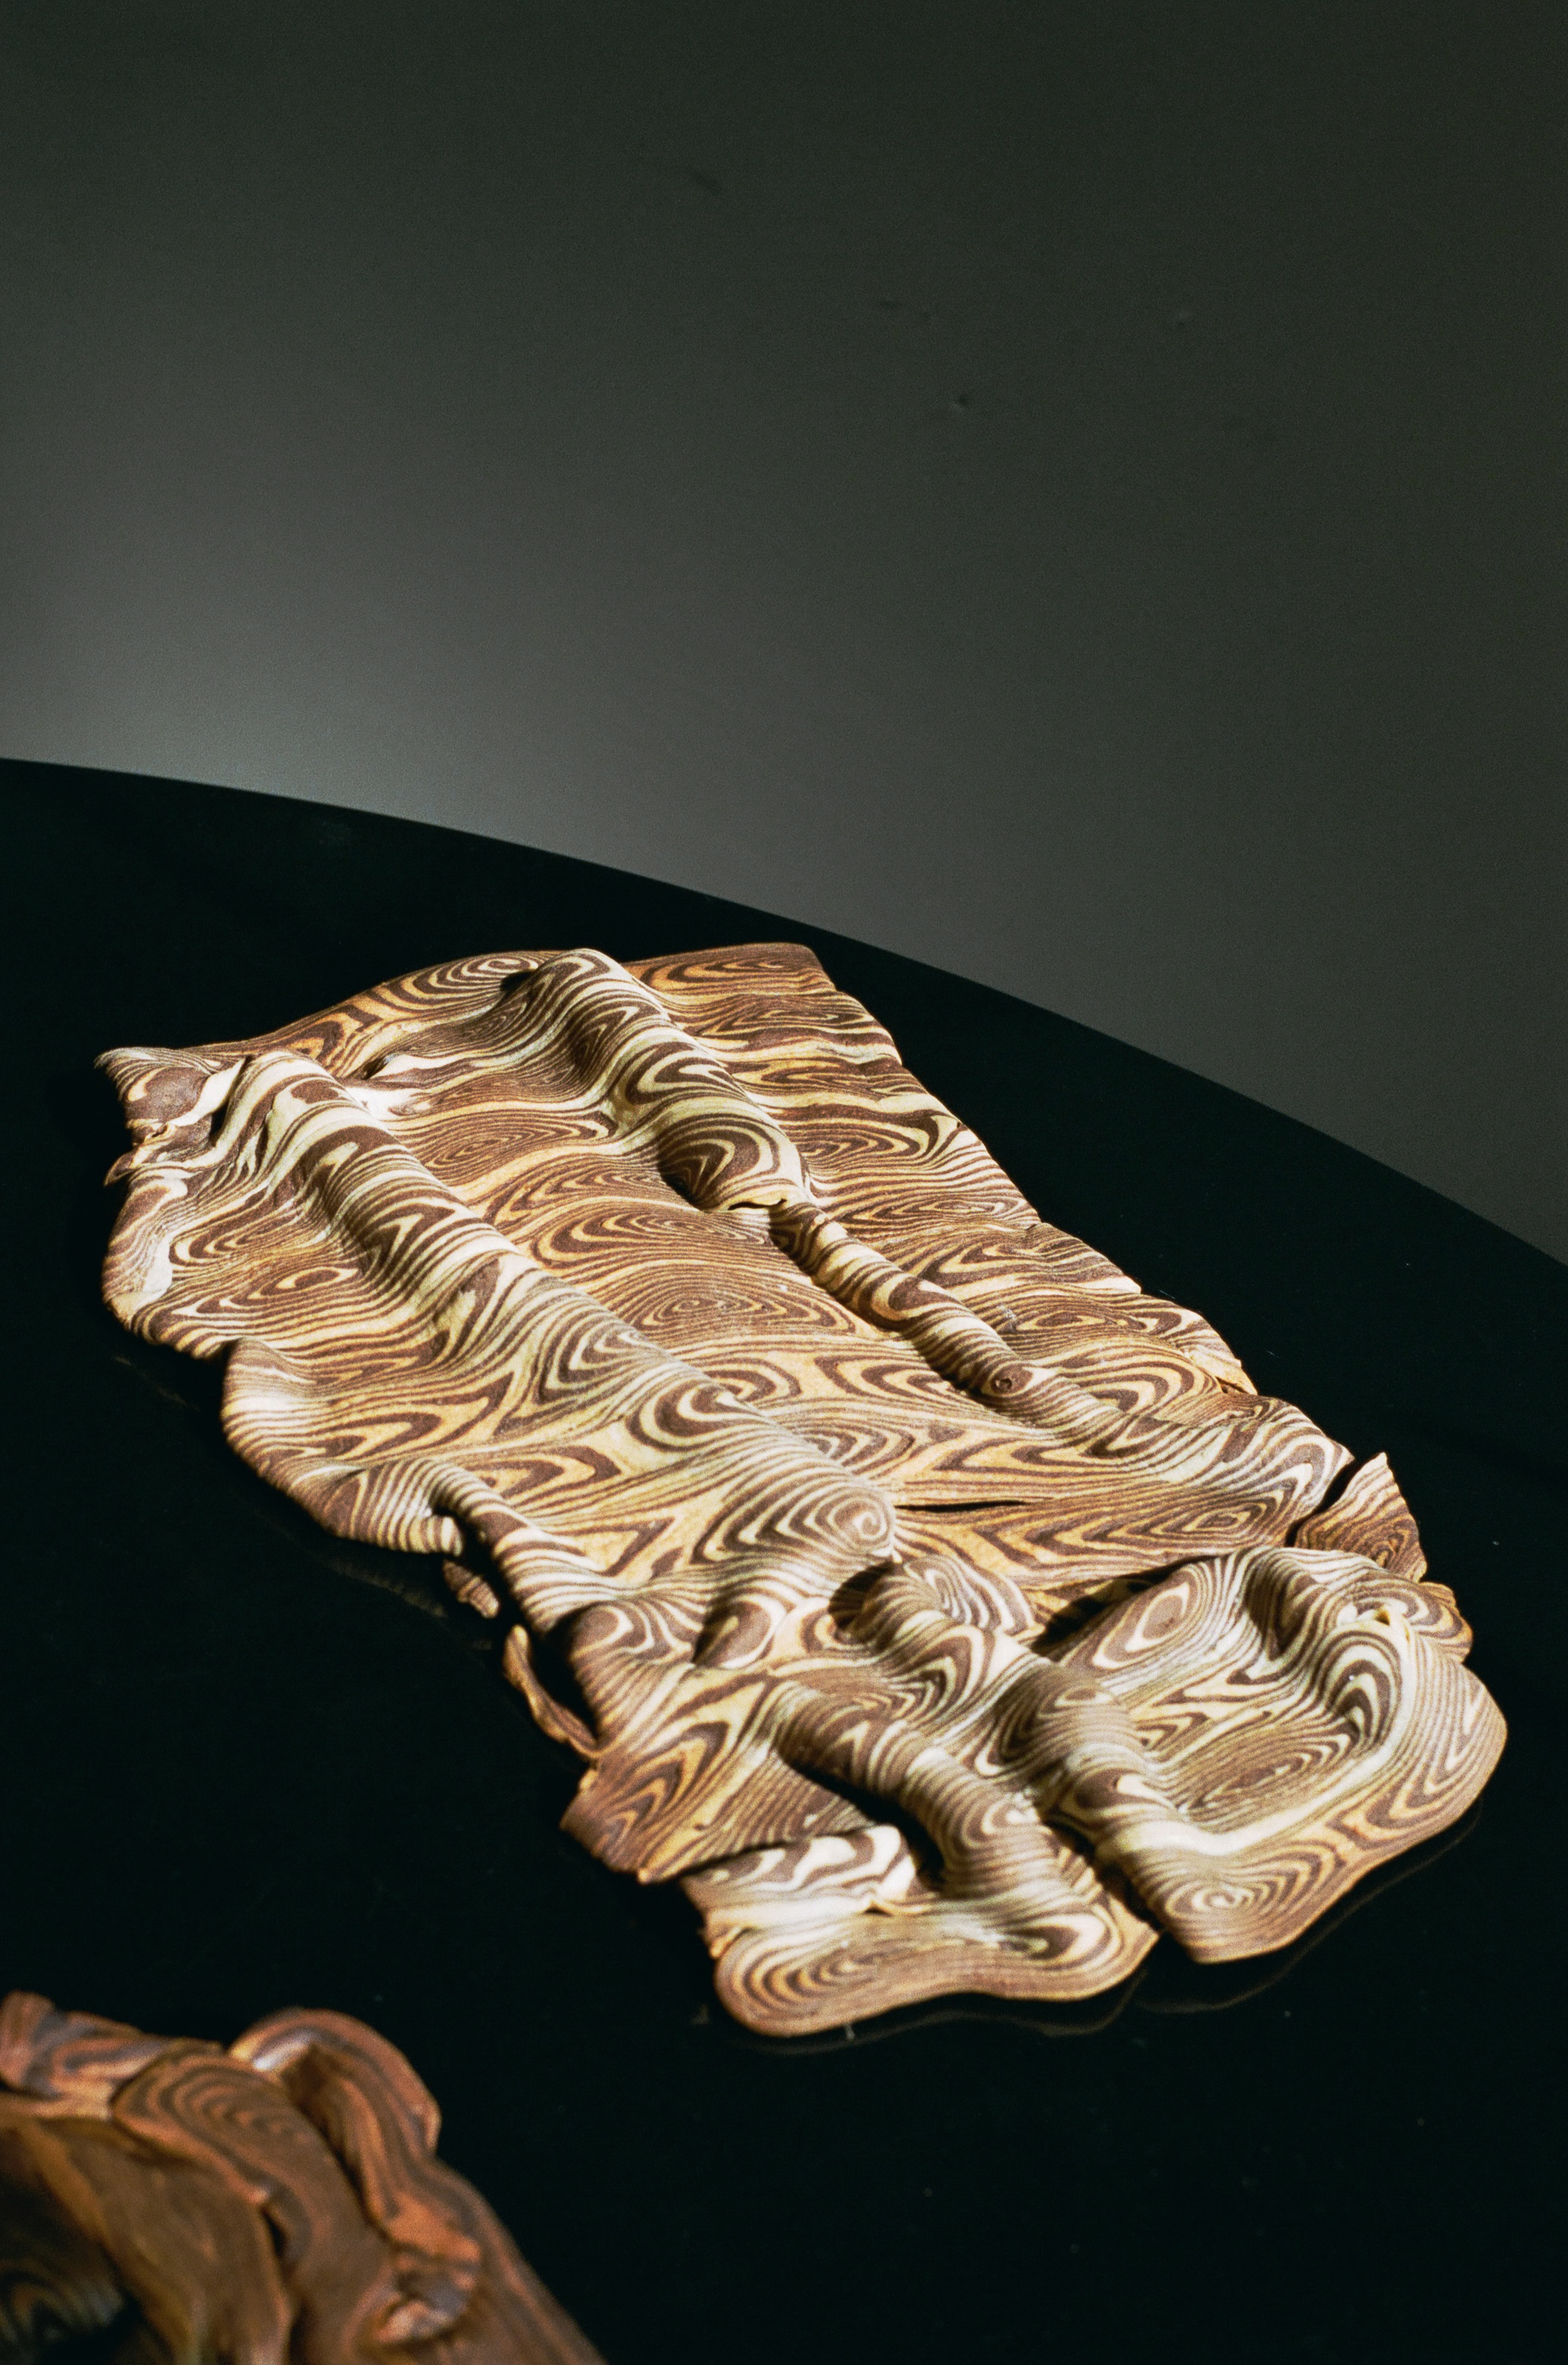
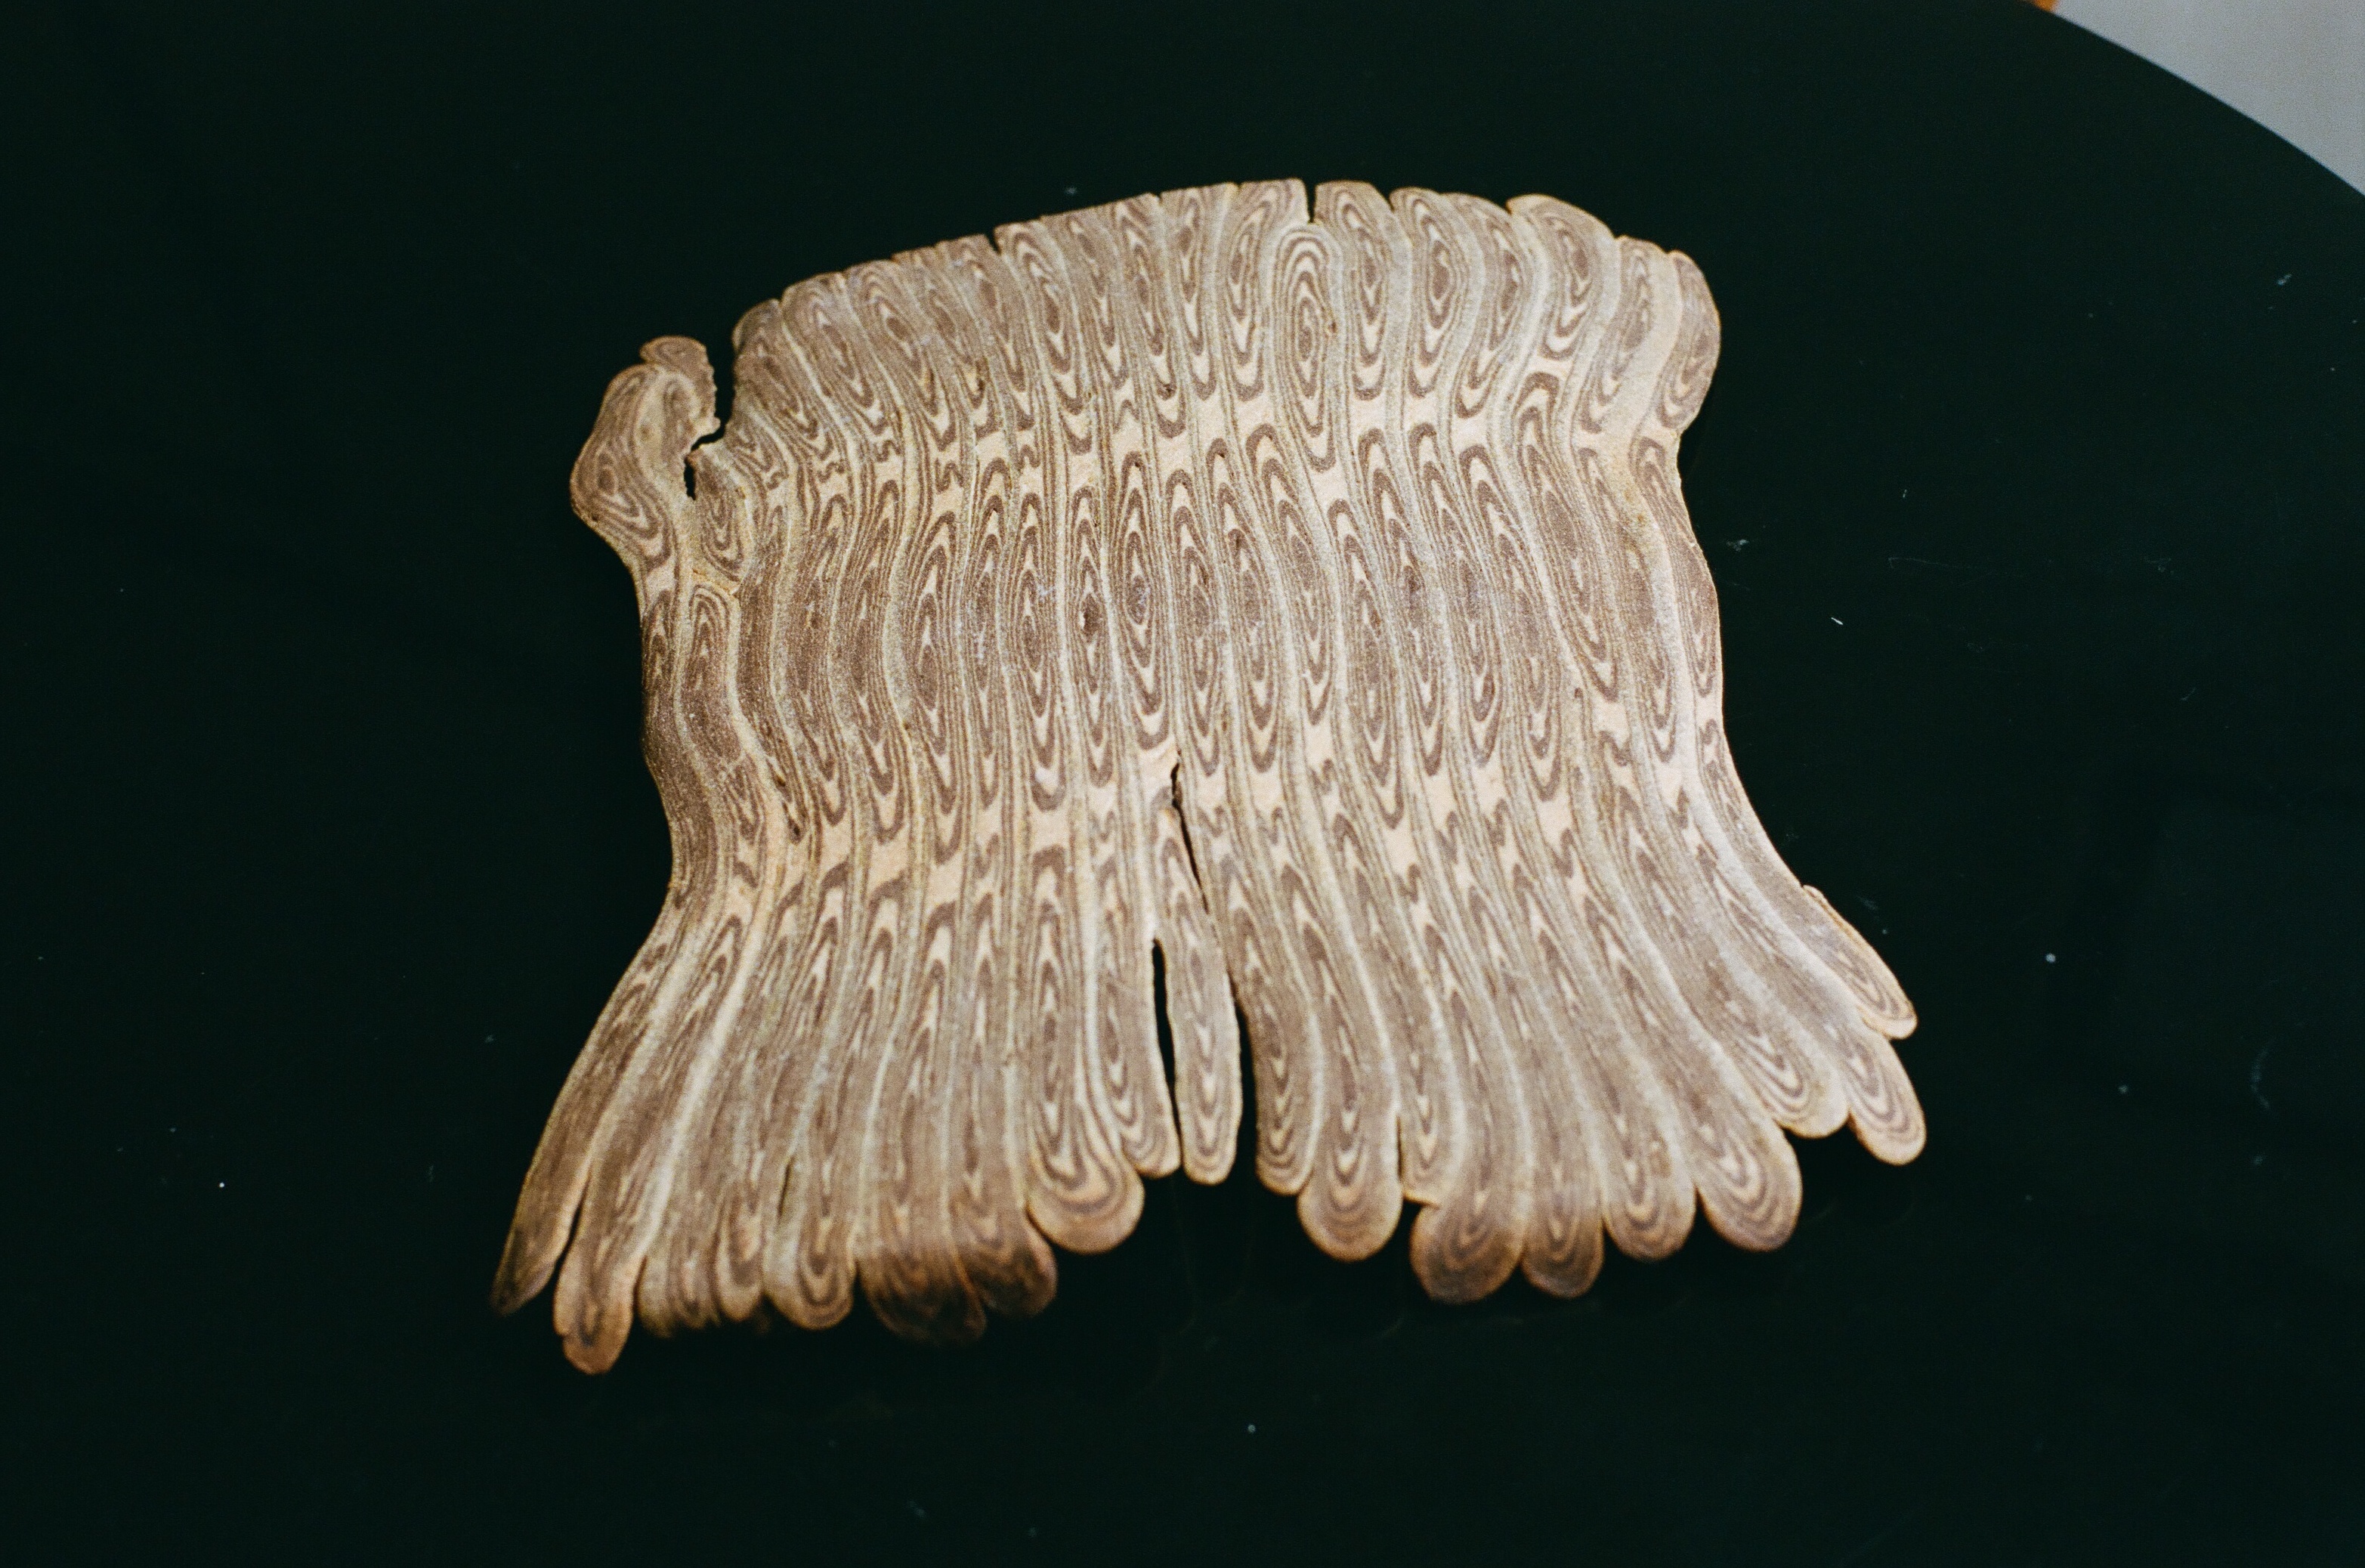
WOOD GRAIN CRISP BREADS
Yields a variable amount of large crisps, serves around 12 but who can say for sure Save Recipe PDF
Dark:
175g all purpose flour*
25g whole grain einkorn flour*
5g salt
10g carob powder
60g rye/white starter, discard or fresh (optional)
75g warm water, plus more as needed
25g olive oil
175g all purpose flour*
25g whole grain einkorn flour*
5g salt
10g carob powder
60g rye/white starter, discard or fresh (optional)
75g warm water, plus more as needed
25g olive oil
Light:
175g all purpose flour*
25g whole grain einkorn flour*
5g salt
60g rye/white starter, discard or fresh (optional)
70g warm water, plus more as needed
25g olive oil
175g all purpose flour*
25g whole grain einkorn flour*
5g salt
60g rye/white starter, discard or fresh (optional)
70g warm water, plus more as needed
25g olive oil
*A note on flours: For many reasons, I use a local, organic and somewhat browner than average all purpose variety, which has a tendency to soak up more water than standard white flour. Keep this in mind and use the best grain you can manage. As for the einkorn, it is a very special grain (in flavor, quality, history, and potential!), but by no means necessary if you don’t have access to it. Try another whole grain variety if needed or supplement with more all-purpose. Also, store bought whole einkorn flour as opposed to fresh is fine. If that’s the best you can do, you’re already doing well.
**A note on equipment: you won’t need anything very out of the ordinary as far as tools go, and you can almost certainly make due with what you have. However: a non-negotiable is a kitchen scale, and nearly as vital is a bench knife (aka bench scraper). This is really just a flat piece of metal with a handle on one edge, but its humble form belies its utility. Both are great allies in bread and cracker pursuits.
Begin:
Mix the dark dough first: Add all dry ingredients to a bowl and combine with your hand. Add wet ingredients on top and coerce into a rough mass, using as much water as necessary to soak through the dry bits at the bottom of the bowl. Trust that the water will work its way through the flour over time and saturate the whole more than it lets on (and you can use a spray bottle to add more moisture later, in modest increments). Move the dough onto the counter and use the heels of your palms to knead it for a minute or two. See it become more of a single body than a dusty and stratified pile. Pat roughly into a ball shape and rest on the counter under a towel while you:
Do the same for the light dough. Once that mass is resting, return to the dark dough and knead again for 30-60 seconds. It should feel smoother and more pliable, but may still tear when stretched. Sprinkle or spray lightly with water if it feels stubbornly dry or tough. Moisture content and absorption will vary depending on so many variables that are distinct to your environment, so advice here can serve only as a guideline. But note- the next time you make these you’ll have developed an intuition that informs what the doughs need, especially noticeable at times like these. It will be easier. (Intuition is no endowment, it's recompense.)
Continue to alternate between the light and dark doughs, giving them each 3-4 quick kneading sessions on the counter, sprinkling with water if necessary as you go. Give them some time (5 minutes? 15?) between goes and you’ll see how much smoother and stronger they are upon your return.
Dress lightly in oil and leave both doughs under towels or inverted bowls for 40-60 minutes, or covered in the fridge overnight.
Turn to wood:
Make sure your counter is clean and preheat the oven to 385F. Line a few sheet trays with parchment. Set these aside.
Oil the counter just a bit. Roll the light dough evenly into a rectangle, roughly 11” x 15”. Set aside and cover with a towel. Do the same for the dark layer. Mist it with water (you’ll do this a few times throughout, it acts like glue) and place the light layer directly on top, lining up all of the edges. Roll the layers firmly but evenly until the rectangle expands in all directions about an inch. Throughout this process, use a bench knife and your fingertips to flip the dough over, roll some, and do it again. Turning it ensures that the dough doesn’t adhere too dearly to the counter, which would make it more difficult for it to both expand and let go, in the end.
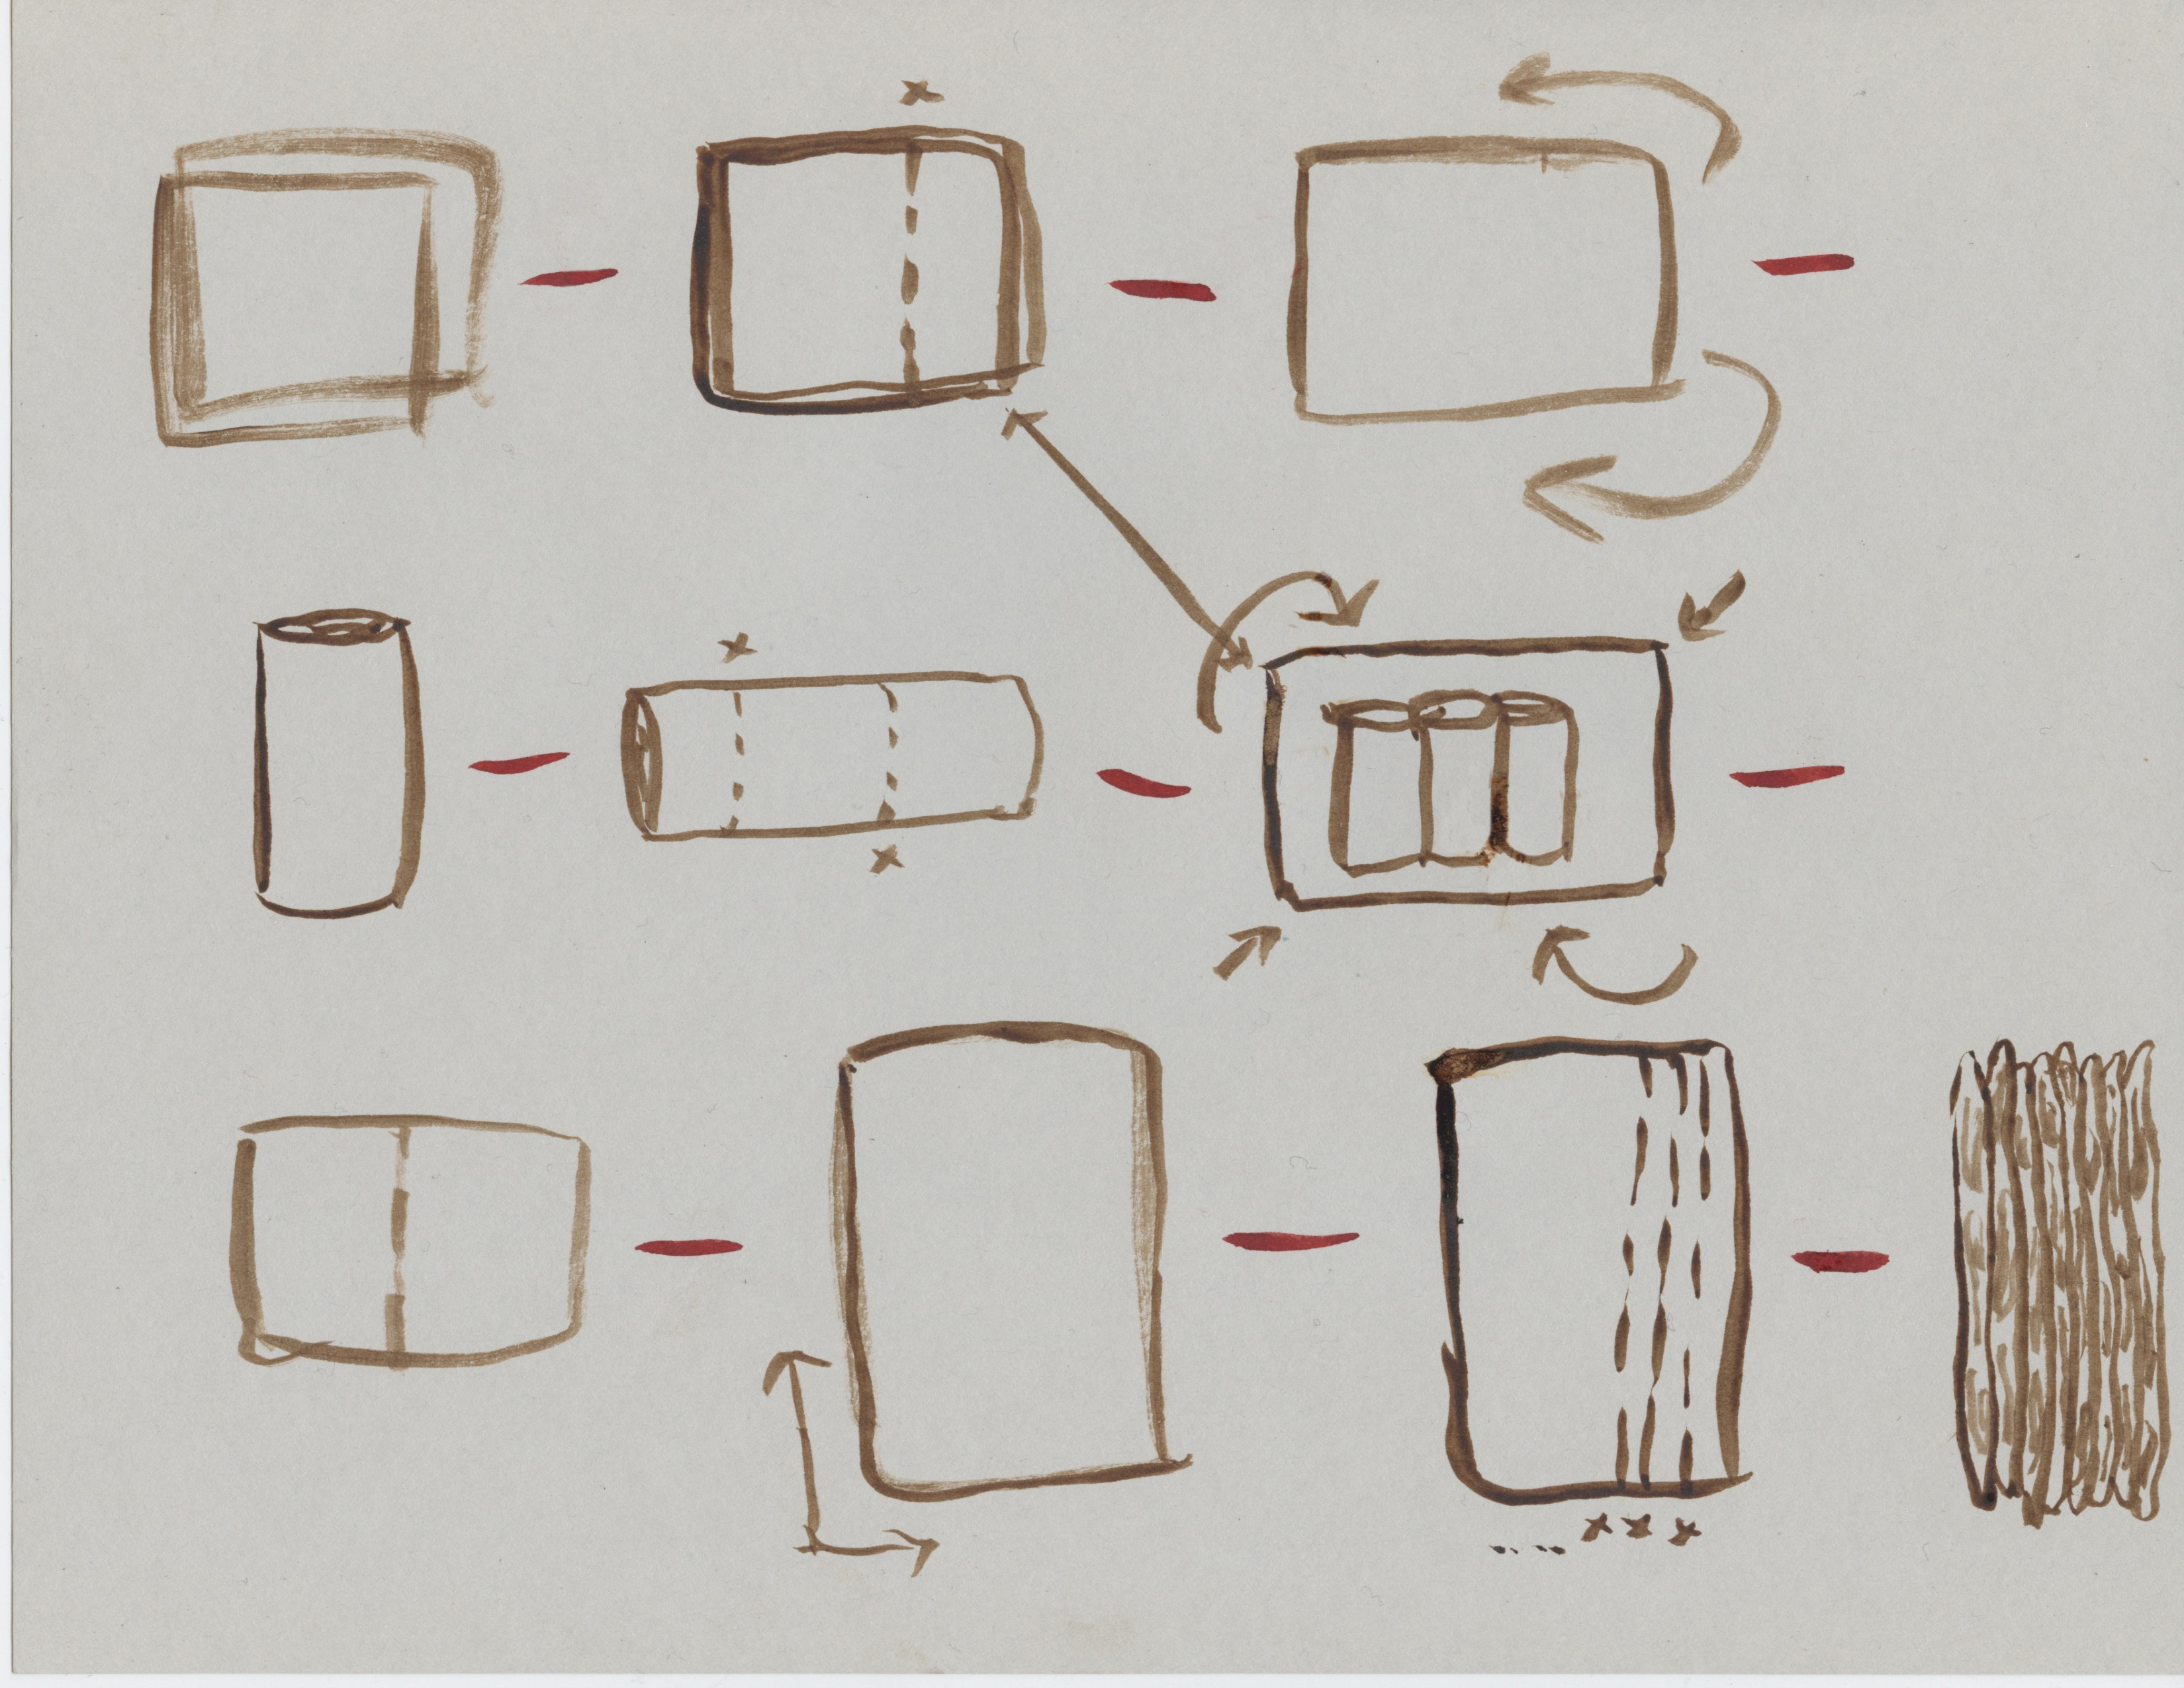
The rectangle should be positioned vertically on the counter. Cut off the top third of the dough and set this piece aside.
Roll the remaining dough until it’s roughly ¼” thick, keeping it as even as possible throughout (mind the edges!). Taper the top edge with your rolling pin by pressing down on it and rolling onto the counter top. Mist the dough with water. Roll tightly and evenly into a cylinder, starting with the tapered edge. Roll the log back and forth a few times to smooth, tighten, and lengthen. Trim the ends with a sharp knife. Cut the log into thirds. Behold the spiral.
Now return to the flat strip that you saved earlier. Roll this quite thin in both directions- less than 1/4” thick and wide enough to enclose the spiral logs in like an envelope. If the outside layer of your log is brown, position the envelope with white facing up, or vice versa. (The tones should always be alternating). Mist it lightly with water and place the three cylinders, also misted with water, in the center, nestled tightly. Fold the flaps up and over from either end and both sides, encasing the 3 rolls in the flat layer of dough. Press firmly to adhere the outside layer at its seams, flip over and do the same. Behold the little package.
Cover and let rest 5-20 minutes.
Return to it and roll into a rectangle about ½” thick. Position a short edge closest to you and trim a long edge with a sharp knife.
Mist the surface of the rectangle again and begin slicing thin, long pieces, less than ¼” wide if you can manage, making the cuts as even and clean as possible (move quickly and confidently). As you go, place the slices flat on a greased counter (or a cutting board, if you’re out of space), nestling them beside each other and pressing down lightly with your fingers. Do this with about half the dough package, reserving the rest for a second round.
Dust with some flour (if sticky) and carefully flip this new layer of slices over. You may need to use a bench scraper or your fingers to loosen it, and it might get somewhat mangled or even dismantle itself in places. But once flat, you have another chance: just press together where it’s separated, mending with prods and pinches. Gently but firmly roll the layer to an even thickness, about 1/8” all around. It should be a bit thinner than a pie crust.
Lift one end with a bench scraper or your fingers and use a rolling pin to move to a sheet tray, like this: lay the loose edge over the rolling pin and lift the pin up slowly to peel the rest of the dough from the counter. The dough should be draped and hanging from the pin like Dalí put it there. Lay it flat on a parchment-lined tray. Wrinkle to create texture, as an item tossed just shy of the hamper, or, don’t.
If you’re up for it, do this again with the rest of the dough.
Brush the shapes evenly and lightly with egg white wash and bake for about 30 minutes, turning the trays halfway. The crackers should be an even golden throughout, or otherwise they are a telling judge of an oven’s inconsistencies. Check on them as time dwindles. Cool on a wire rack once baked through.
These can be kept at room temperature for a few days, maybe a week. Push it even further and no one will get hurt. Though the longer you leave them the more they beg for this: a light spritz of water and a re-toast. After all your work, they’re worth saving.
11/19