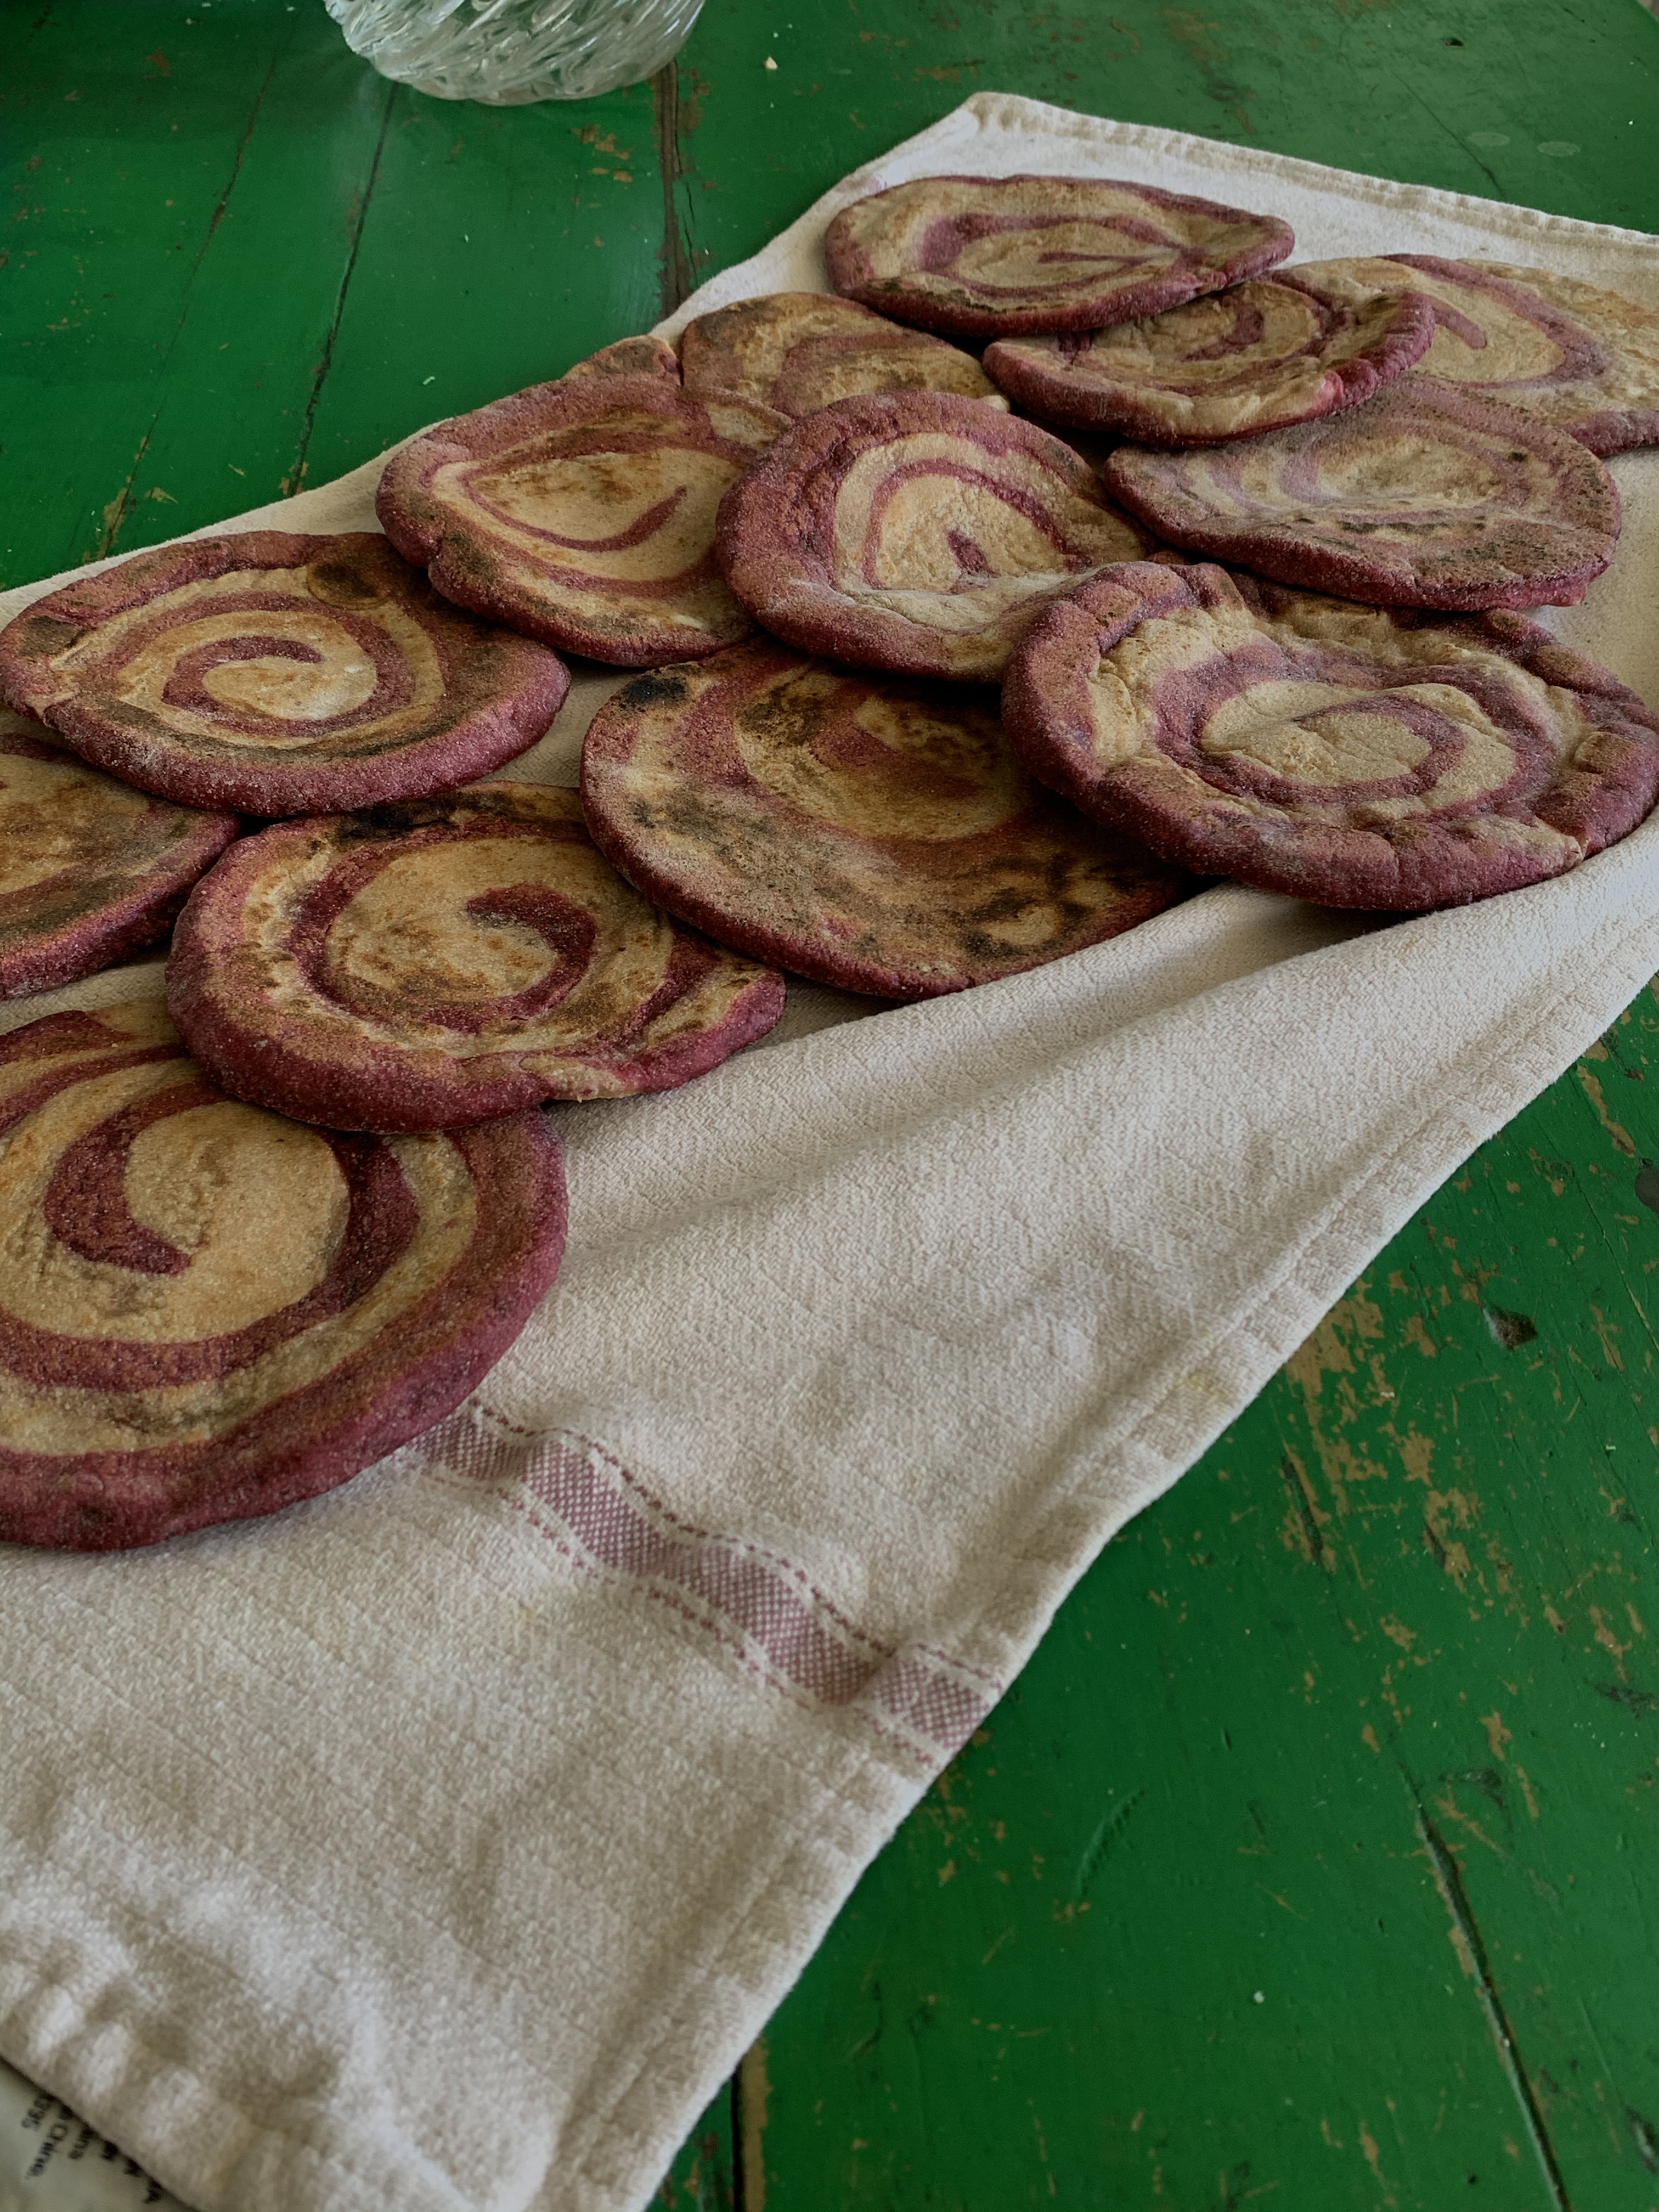
Not called pitas for risk of gravely offending some
Yields 14-16 pocket breads
 .
. 
Ingredients
White Dough
55g milk
55g water
90g yogurt
190g all-purpose flour
85g whole grain spelt or whole wheat flour
7g salt
55g sourdough starter (active or discard)
55g milk
55g water
90g yogurt
190g all-purpose flour
85g whole grain spelt or whole wheat flour
7g salt
55g sourdough starter (active or discard)
Pink Dough
55g milk
55g water
115g beet puree (approx 1.5 - 2 small beets, roasted and pureed)
190g all-purpose flour
85g whole grain spelt or whole wheat flour
7g salt
55g sourdough starter (active or discard)
55g milk
55g water
115g beet puree (approx 1.5 - 2 small beets, roasted and pureed)
190g all-purpose flour
85g whole grain spelt or whole wheat flour
7g salt
55g sourdough starter (active or discard)
Olive oil for mixing
Note: Read directions below but also adjust as you wish. If you want to leave out the leavening altogether, see what happens- the result will be different but still worthwhile (steam will do a lot of the lifting). Want to avoid the stovetop labor? Heat a pizza stone or inverted sheet tray up to 480F in the oven and bake a few breads at a time for a couple minutes, until just poofed. Don’t have beets? Whatever, use a different vegetable puree or just make the white dough. No whole grain flour? Replace with more all-purpose and use a little less liquid. No milk? Use all water. You’re your own master.
More Notes:
They will not all poof. But when they do, god, it’s all worth it. Pocket bread’s behavior is something of a mystery, but there is a hazy road map. They are more likely to poof if: the surface of the dough round is smooth and has no nicks or tears before getting into the pan, the round is not too thick nor too thin and is a consistent width throughout, and the pan is good and hot and kept that way.
You don’t want to over-brown these, it will make them tough and stale faster. So if it’s not poofing…I know it hurts, but you can’t wait forever.
If you find they’re charring very quickly, turn the heat to medium/medium high for a minute or two. This will likely be necessary after you’ve made about half the batch and the pan has been working for a while. Remember to turn it back up after some time if the breads seem like they’re moving sluggishly.
The more of a pocket you achieved the more tender the breads will be, but either way they’re a delight. But tenderness is a very worthy goal to strive towards.
1. Roast and puree the beets ahead of time: Leave them whole if petite and reasonably sized or cut in half if they’re as big as a fist or bigger. Rub in olive oil, wrap individually in foil and bake in a hot oven, around 400F, for a couple hours. Let them sit until at least cool enough to handle, remove from foil and rub the skins off with the sides of your thumbs. Blend in a food processor until smooth. Set aside.
2. If you’re using active starter instead of discard, feed it around 3 hours before you plan to mix the dough.
3. Take your wet ingredients out of the refrigerator, assuming that’s where they live, and let them sit at room temperature for an hour or two before mixing.
4. You’ll be making two separate but very similar doughs. Start by weighing out all dry ingredients for both in two medium size bowls.
5. After your three hours have passed since feeding your starter, mix the milk, water and yogurt in one bowl, and the milk, water, and beets in another. Mix both doughs, one at a time, until just combined. Cover them and leave for 30 - 90 mins. (This step is about hydrating the flour so the dough can begin forming its gluten structure. It’s called an autolyse).
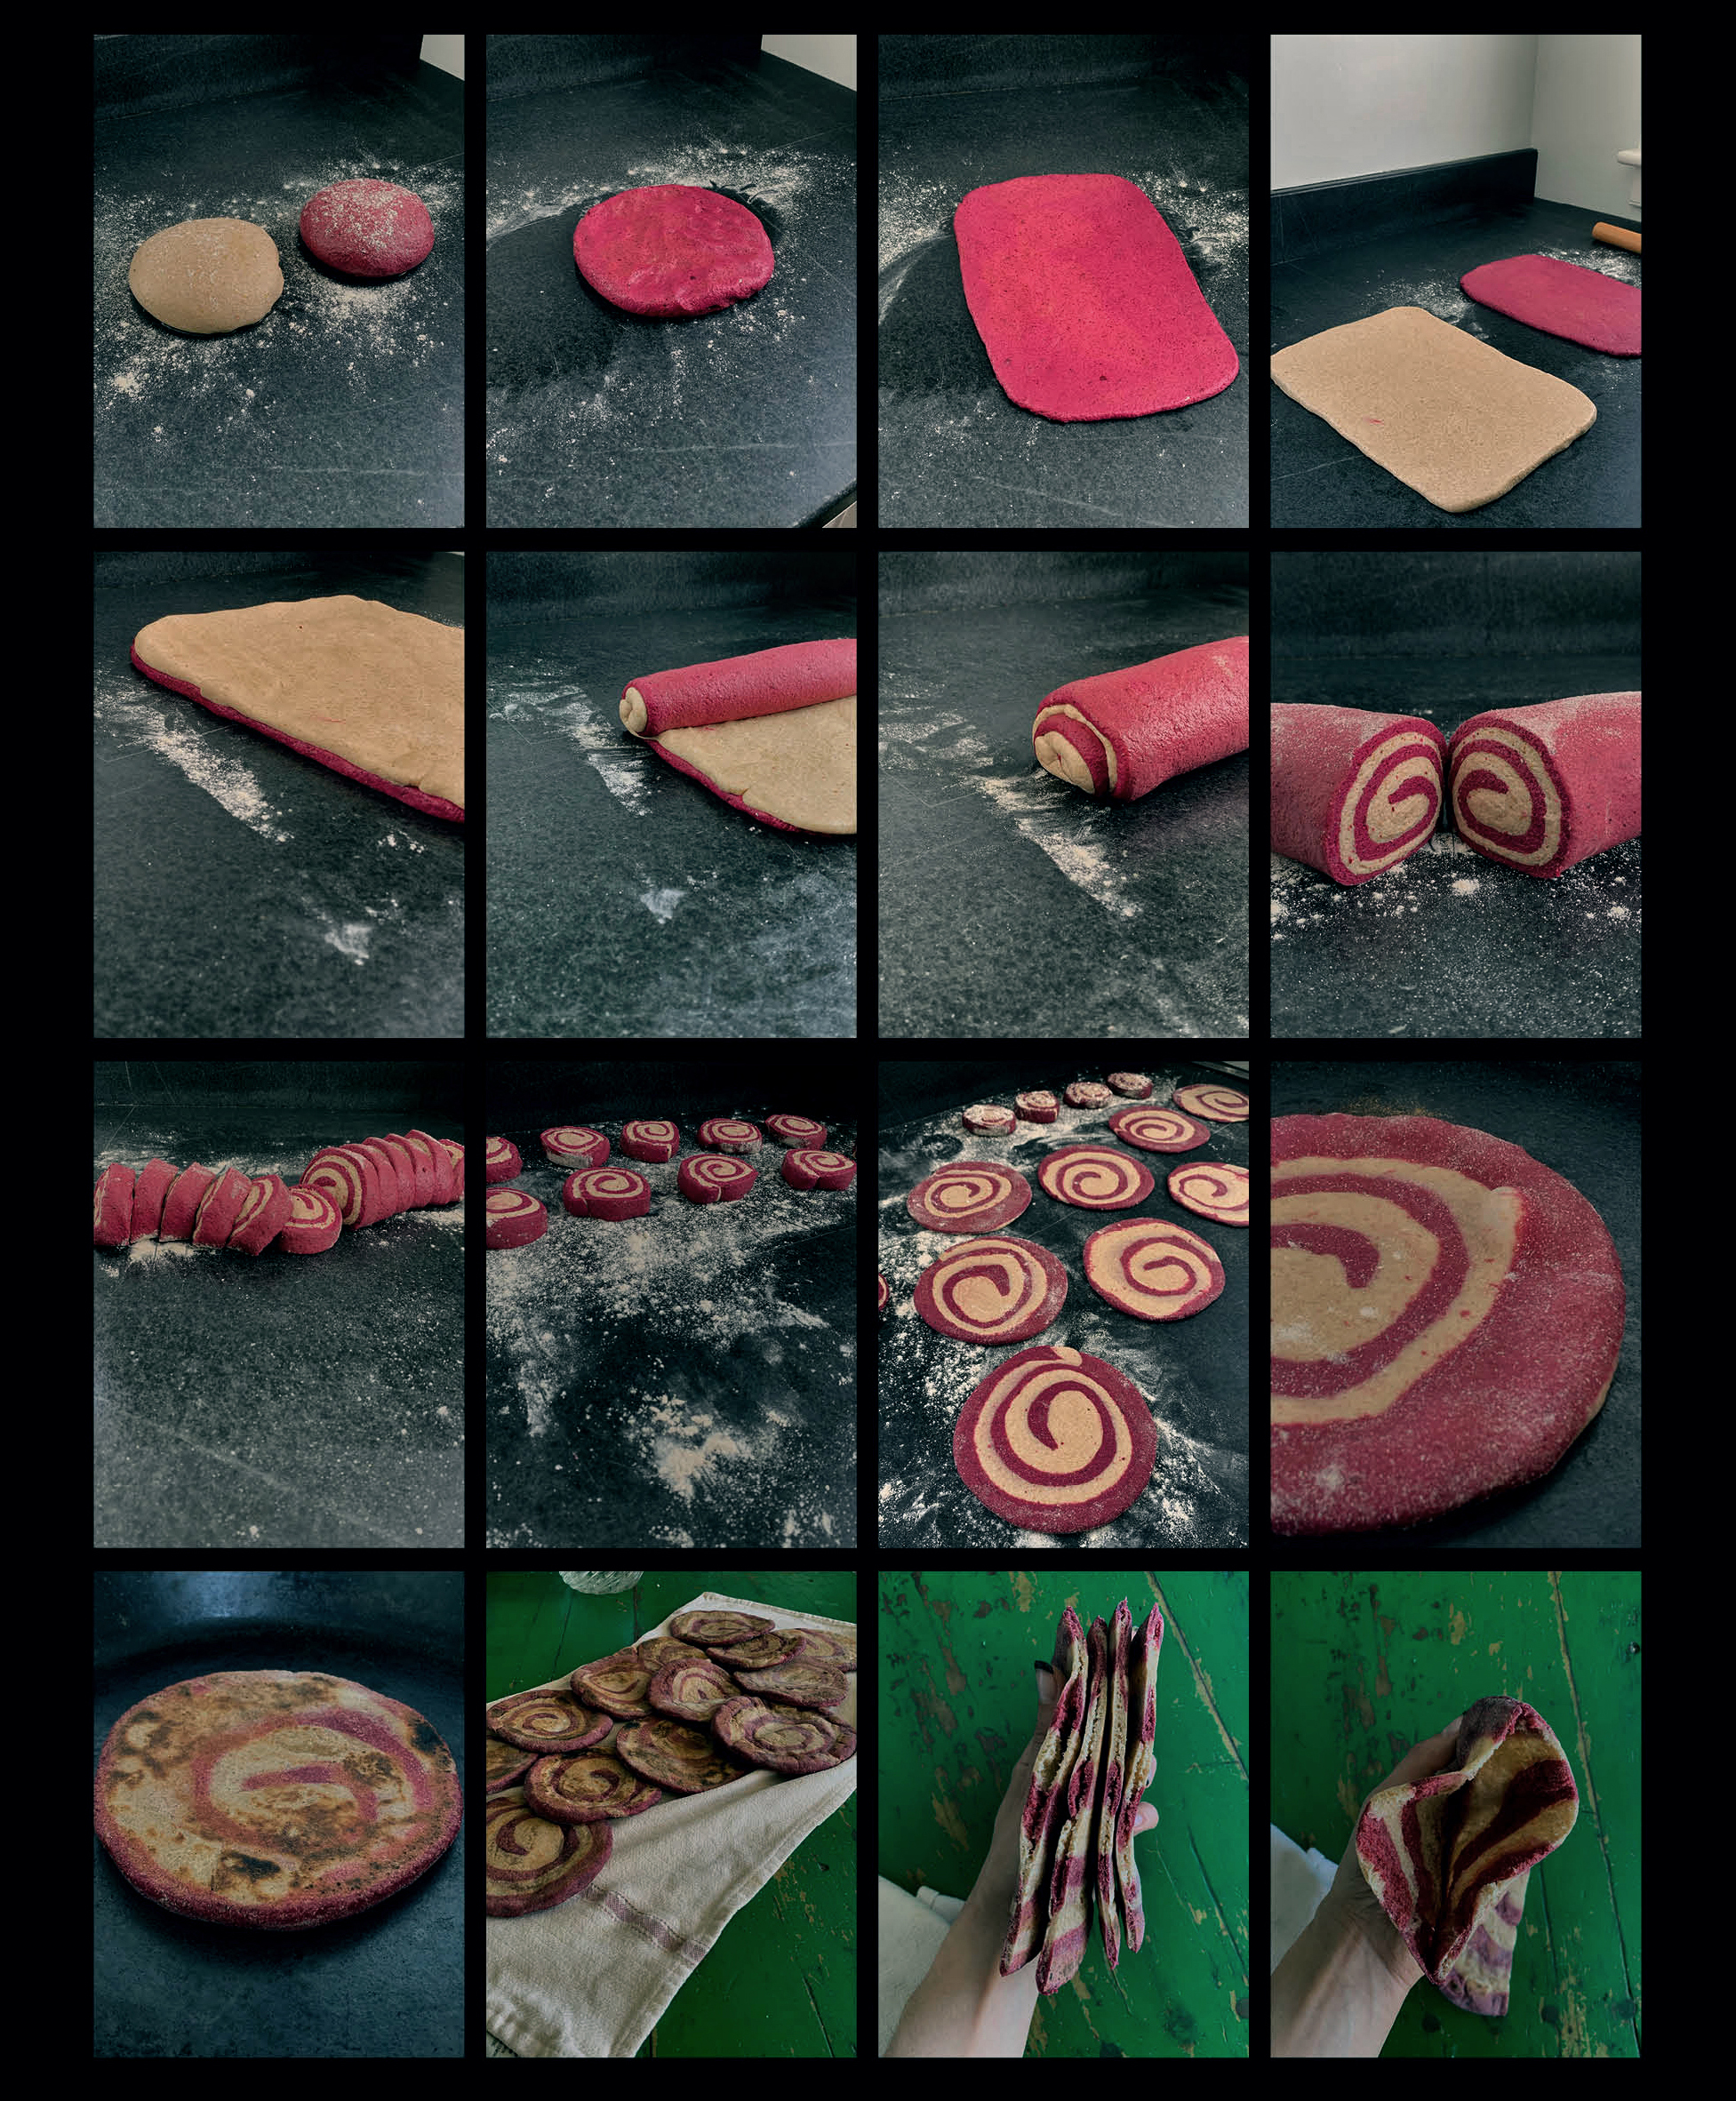
6. Choose a dough to start with, white or beet, and mix the sourdough in, kneading thoroughly with the palm and heel of your hand (a tip: moistening your hands prevents dough from sticking to them). You can begin mixing in the bowl and then move to the counter once the sourdough is relatively incorporated. I mostly use a single hand for this process: press on the dough with the heel of your hand and fold it over itself. Turn and repeat. Do this again and again until it begins to smooth itself out. Also consider the Slap and Fold: an audacious but real name for a certain hand mixing technique, accomplished by slapping the dough onto the counter from above, pulling the edge up and towards you, and then folding it over itself. Tug it back up from the counter by its side (the edge of your hand below your pinky finger should be on the counter, not your knuckles), slap down again, tug up, fold, etc etc. Watch a video (mine?) and you’ll get it. Try it yourself and you’ll really get it. Do this for a few minutes then round the dough into a ball, grease with olive oil, and let rest. If the dough was still tearing easily give it another few slap and folds after a 5 minute break (firm but gentle). Do all of this with the second dough too. Once they’re nicely developed and smooth, rest both doughs in separate bowls greased generously with olive oil. Cover and let sit at room temperature for one hour, then refrigerate overnight.
7. The next day, remove doughs from fridge. Place them both upside down on a well-floured counter top. Roll each to a rectangle about 1/4” thick, dusting lightly with flour as needed to prevent sticking. Place the white dough gently on top of the beet dough (drape over a floured rolling pin to help transport, if needed). Starting from one of the narrow edges of the rectangle, roll up into a log.
8. Use a very sharp or serrated knife (not to say a serrated knife shouldn’t also be very sharp- it should- but who can really tell with serrated knives), and slice confidently into 14-16 pieces, about 1/2” thick.
9. Place slices cut side down on a floured counter top. One by one, flour and roll into rounds about 1/8” thick, 5 or so inches wide (this will vary). Cover with a towel or plastic wrap as you go to prevent drying out.
10. Heat a cast iron pan or equally hearty cooking surface up to hot hot (high heat). Make sure it has a few minutes to really get there (I get it going after rolling out around half the batch and let it heat up while I finish). Once some water (or spit, really, if we’re being honest and not giving these breads away) sizzles and evaporates immediately after hitting the surface, you’re ready. Start with the first round you rolled out and slap it onto the pan, as if its actually a cheek you’re slapping (either kind). Count to about 20 and flip (use your hands if you’re me or a metal spatula if you’re smart). You know it’s ready to turn when you see little bubbles forming on the surface. Once flipped the new top should already have some brown or golden marks on it. If not, your pan needs a bit more heat.
11. Wait another 20 or so seconds and flip again. Then again. Hold on a sec. At this point you may get some poofing action. You’ll know it when you see it, oh will you ever. Sometimes the steam that’s filling the pocket of the bread can be coaxed around by applying pressure on the dough with a folded dish towel (careful here- steam is hot, etc.). Keep flipping, pressing.
12. Remove from heat when surface is mottled with brown marks and all the sheen of the raw dough is gone. Wrap in a kitchen towel immediately off the pan. Dousing with some ghee or olive oil while hot doesn’t hurt.
13. Cook them all and freeze, eat, or share as needed.