SOURDOUGH STARTER: REACTIVATION, MAINTENANCE, AND DEHYDRATION

feeding your sourdough starter, as described below
Some helpful sourdough lingo, which appears throughout the instructions below and in recipes elsewhere:
Starter/Culture: A general term referring to your sourdough. (Think of the relationship between water and a well. This would be the water.)
Mother: The sourdough that you feed and maintain, not the portion built to use in a specific recipe. If you were to call your sourdough by a pet name (please do), this is what you’d be referring to. (This would be the well.)
Inoculating culture: The portion of the mother that passes along the active organisms in a feeding cycle; one of three ingredients in that process (the other two are fresh flour and water). (This would be the water taken from the well.)
Levain: The portion of sourdough that is prepared for use in a specific recipe. (Here the well metaphor dries up!)

Sourdough begins as a mixture of flour and water. With the addition of time, warmth, and care, the mixture is transformed into an active culture of billions of microorganisms, all living and feasting in symbiosis.
The yeast spores and lactic acid bacteria that make up this population are culled from the grain, vessels, hands, air—anything present in the fermenting environment. This means that, after just a few feedings, each starter will be unique to its place and maker, even if it shares a source with another.
A feeding is the addition of fresh flour and water to a portion of the active culture. With so many living bodies in the mix, the feasting begins as soon as the flour is hydrated. As they feed, the bacteria produce acids (flavor and aroma) and the yeasts produce carbon dioxide (air to rise the dough). The bacteria and yeasts work in tandem with each other, enhancing the environment for the other’s specific needs instead of competing for resources. It’s this ideal and unusual relationship that makes for the unique experience of sourdough bread.


REACTIVATING YOUR SOURDOUGH STARTER
You’ll need to reactivate your dehydrated sourdough before you can use it. To do so:
Day 1
1. Add: 5g (1 Tablespoon) dried starter to a glass container with room to spare.
2. Add: 45g (3-4 Tablespoons) warm water (filtered if possible but not necessary).
Let sit for 30-45 minutes, then rub the mixture with clean fingers to further break up the pieces.
3. Add: 45g (5 Tablespoons) whole wheat, rye, or all-purpose flour.
Cover with plastic wrap and rest for 24 hours. Placing it in a warm spot will help it along.
Day 2
1. Add: 55g (1/4 cup) tepid water.
2. Add: 55g (6.5 Tablespoons) whole wheat, rye, or all-purpose flour.
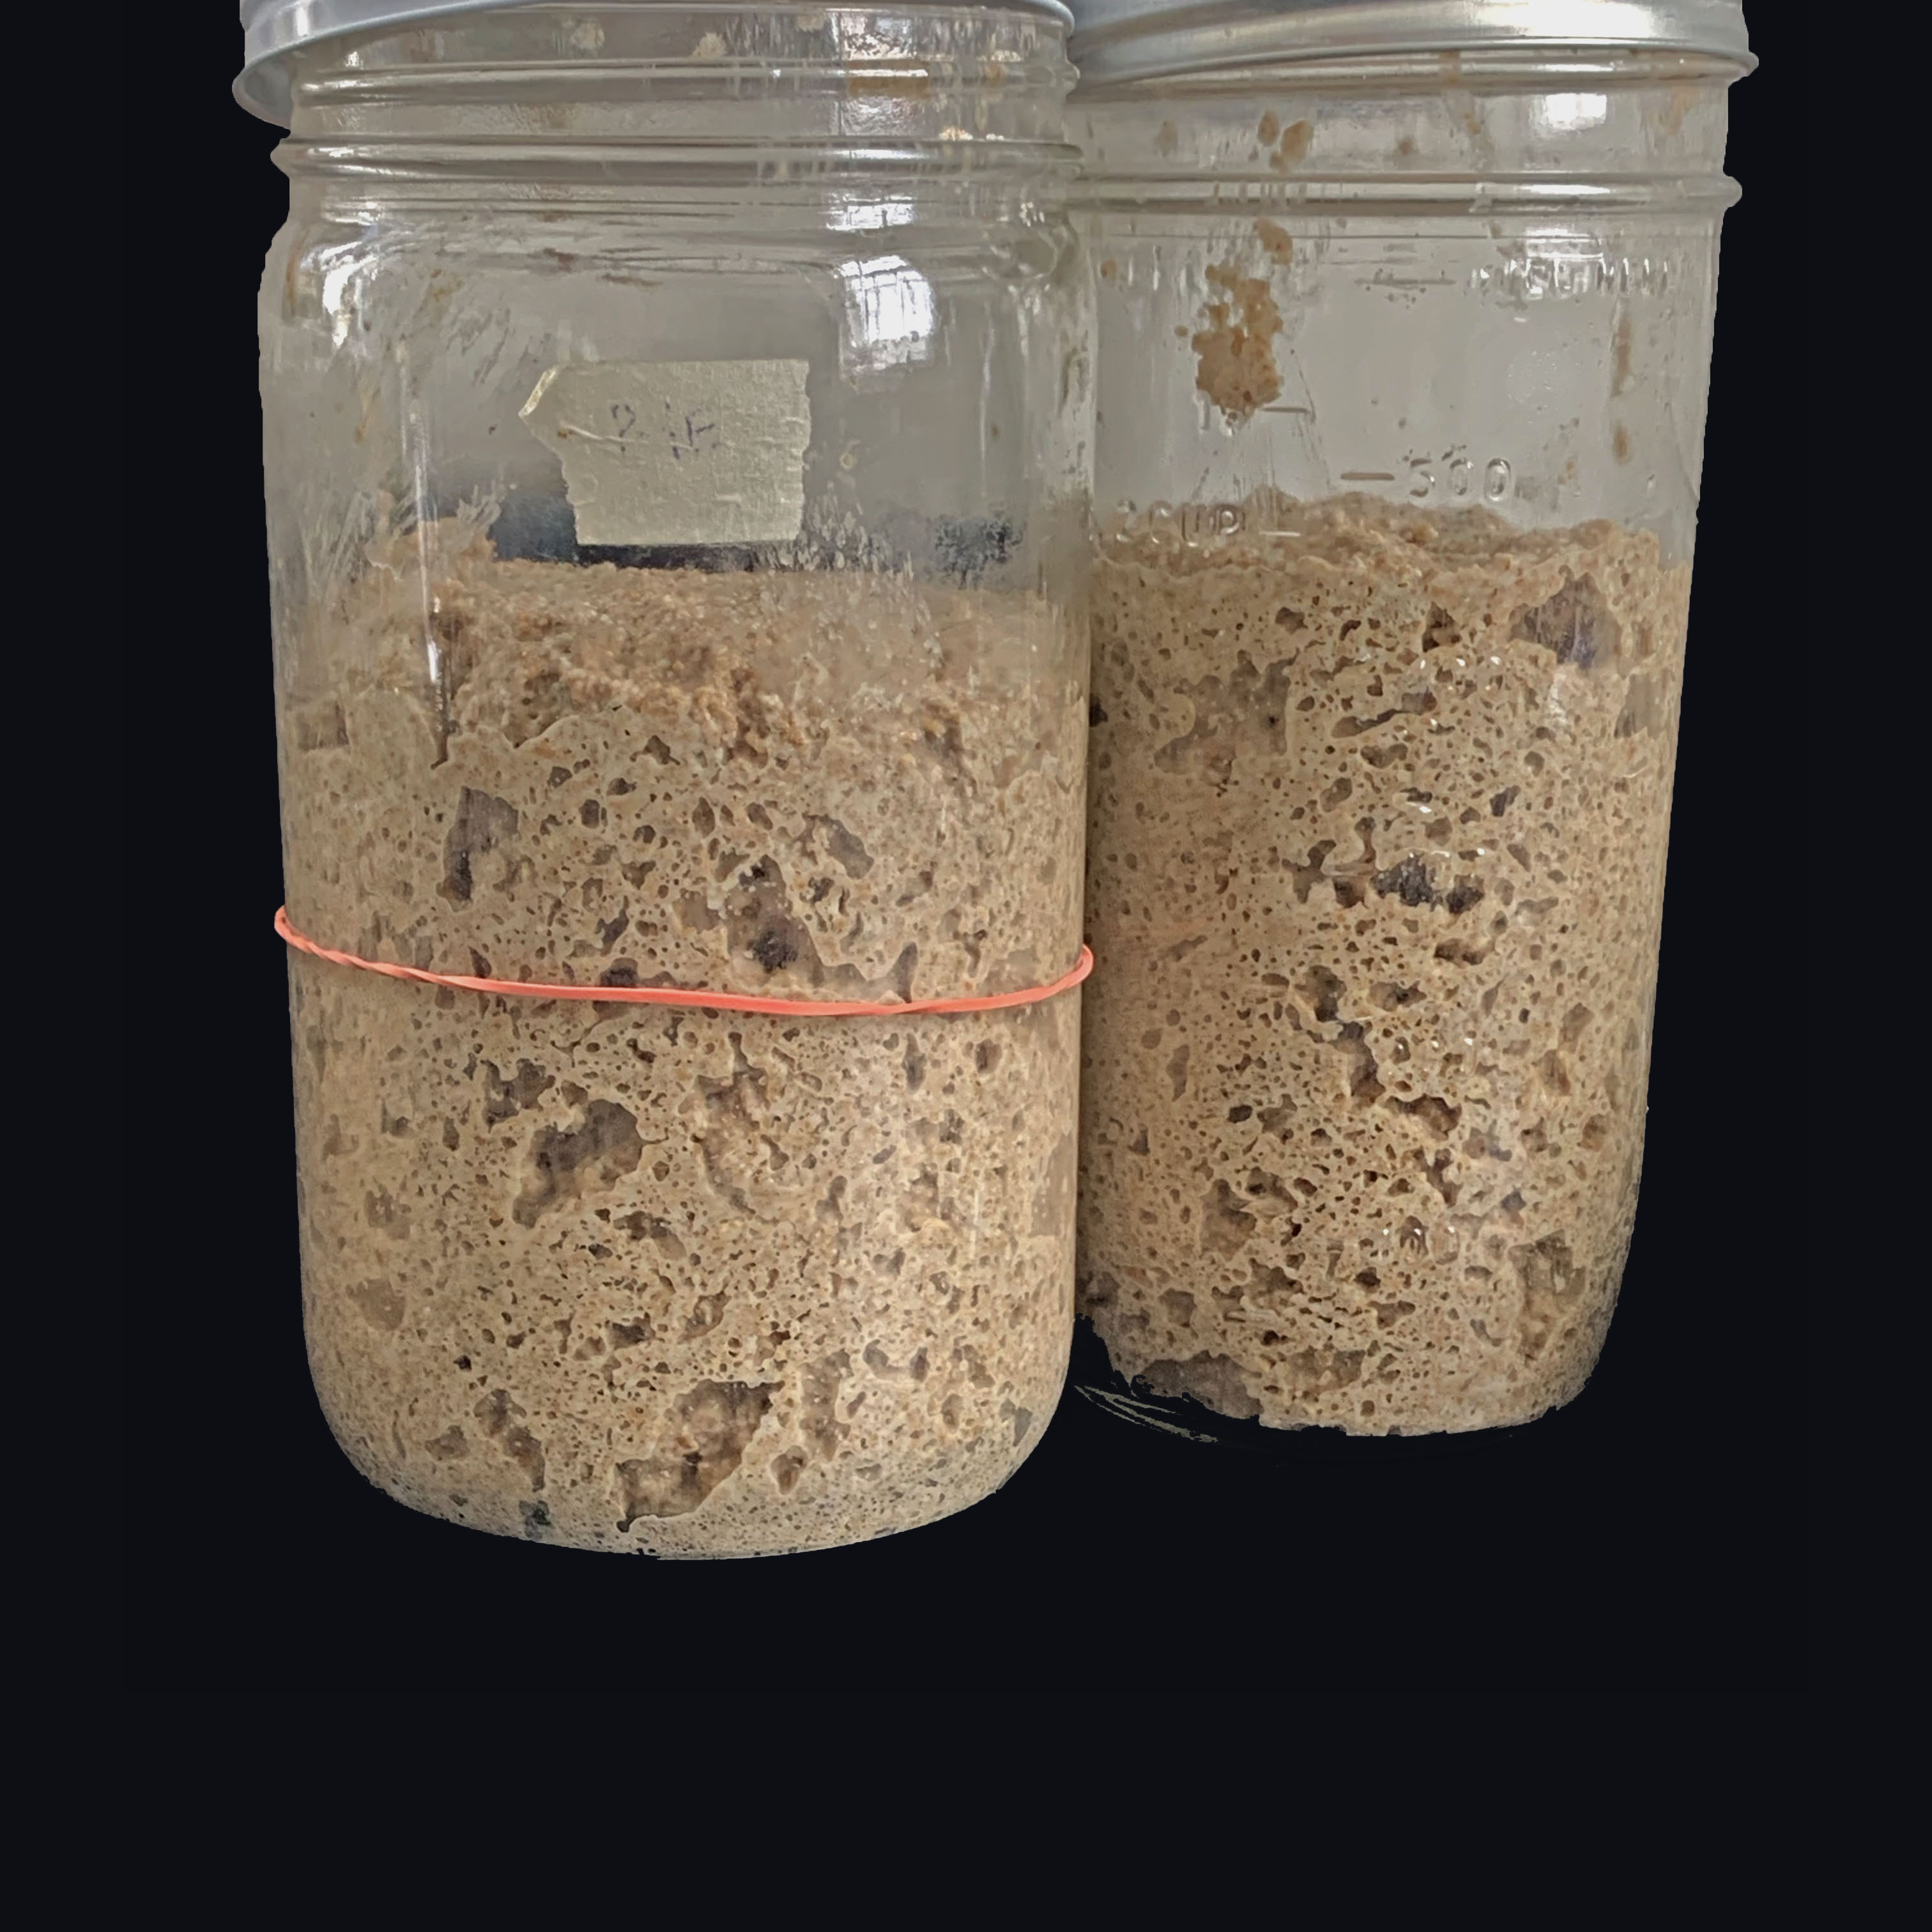
Mix with clean fingers and cover again. Mark the level on the side of the glass with tape, marker, or a rubber band.
You should see some rise after 6-12 hours, more or less time depending on your ingredients and environment.
MAINTAINING (FEEDING) YOUR SOURDOUGH STARTER When your sourdough is rejuvenated and showing signs of life (bubbling, rise, new smells) you are ready to follow a normal feeding schedule. It will become more robust as you continue with consistent feedings.
An example of a feeding is as follows:
In a clean glass jar combine:
-
20g mother starter (inoculating culture)
-
40g flour (food)
-
40g tepid water (food)
Mix with clean fingers and cover with plastic wrap or a partially tightened lid. Mark level on side of glass with tape or rubber band.
When the mixture has doubled or nearly, you’re ready to bake with your sourdough or give it another feeding. This point is called the peak, when it is both hungry and ready to perform. It will reach this point around 4-8 hours from the time of feeding, depending on local environment.
The formula above is an example of a 1:2:2 feeding, referring to the ratio of starter : flour : water. *The graphic at the top of this page illustrates this process, however abstractly. Click here for a more thorough play by play.
DEHYDRATING YOUR SOURDOUGH STARTER
1. Feed as normal (I use well water and fresh rye flour when I can, but really anything will do). See the Maintenance section below for more on this.
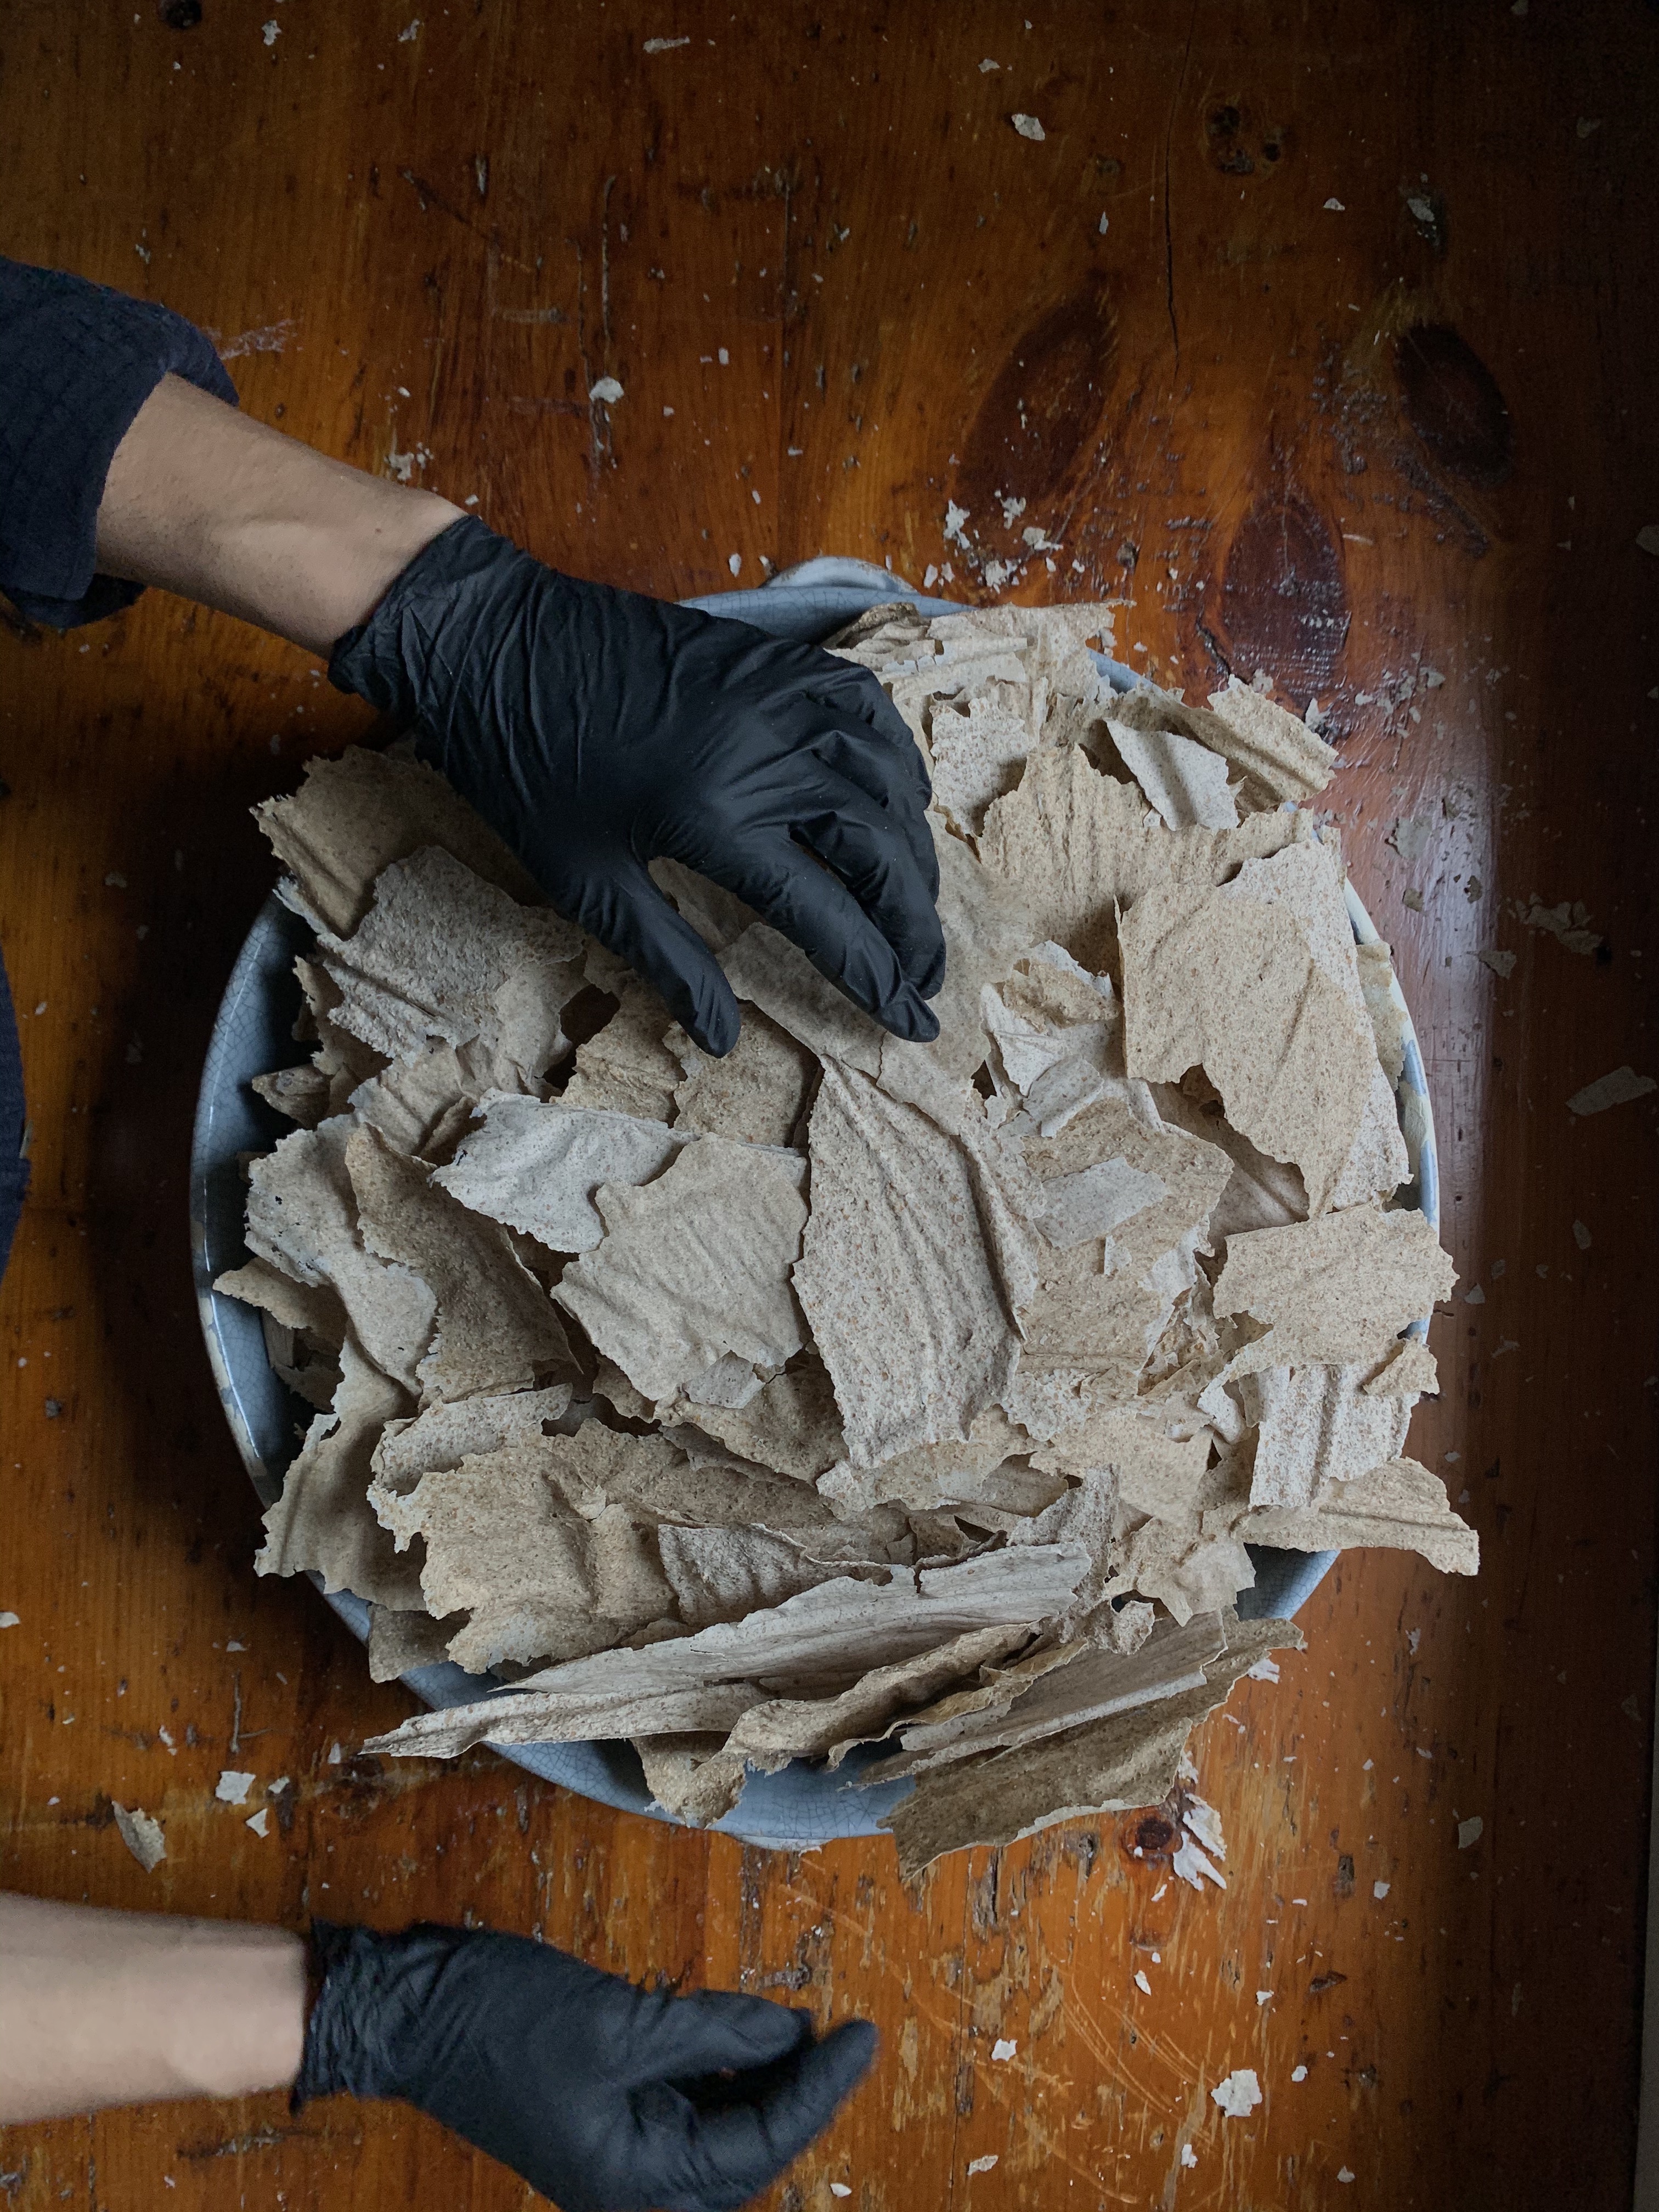
2. Let the mixture rise around 50%, usually two hours. Use a spatula to spread the mixture as thin as possible on a piece of parchment or silicon mat. Some areas will be translucent.
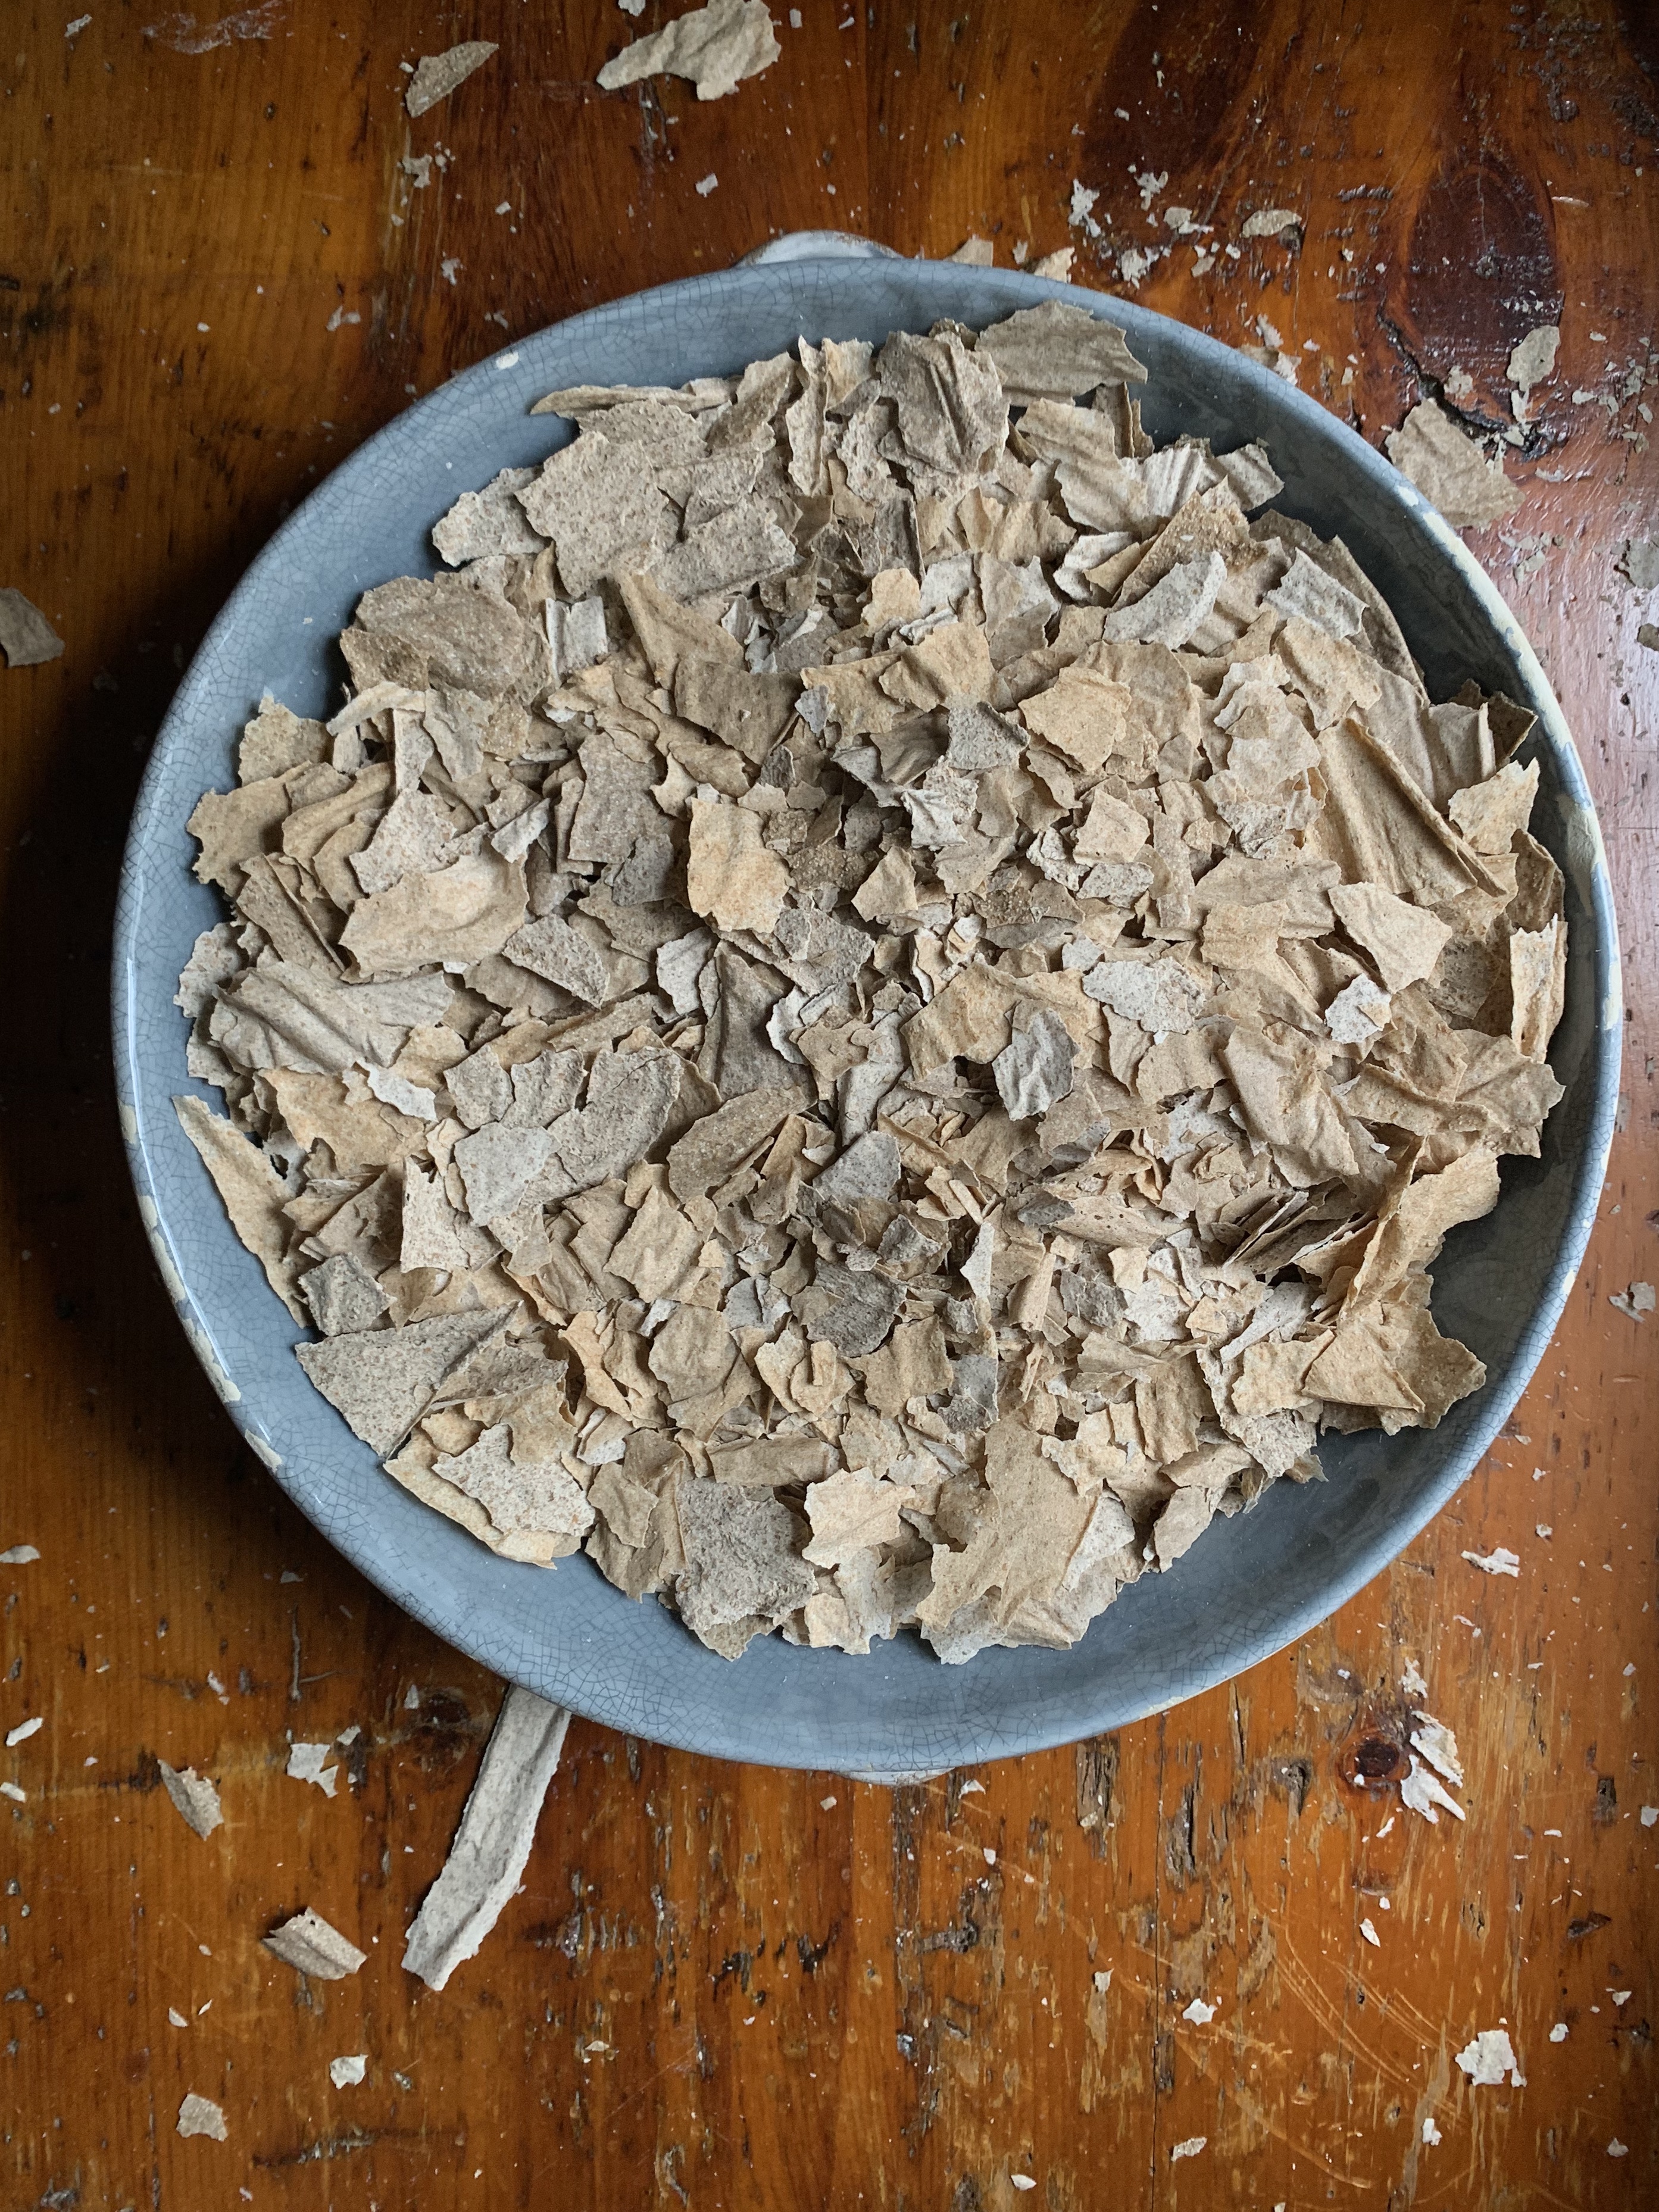
3. If you have a dehydrator, set it to its lowest temperature (ideally 95 F degrees) and place the sheet inside. Otherwise, place it in an oven with the light on overnight, or until the sheet lifts easily from the parchment or mat. (Keep the starter under 130 F degrees. Even lower temperatures will ensure the microorganisms stay alive and well into their slumber.) 4. The dried starter can now be crumbled up or broken into shards. Store in a jar or food safe bags, away from extreme heat. In this form, the sourdough will remain viable for an indefinite period of time, so long as it is kept dry.
*To share your starter, plan to offer between five and ten grams per recipient, in bags like this or this.
ETCETERA
To expand your starter for any recipe, simply feed with the same proportions but in greater volume. You may have to work up the volume of your starter over the course of a few feedings to have enough to bake with. It will become stronger and more active over this time, so be patient. It’s usually worth it.
Maintaining sourdough results in extra culture or ‘discard’, unless you’re baking constantly. Save this excess in a container in the fridge and use it for pancakes, flatbreads, crackers, or other baked goods that don’t require a lot of leavening action.
You can always adjust the proportions of your feedings, though a 1:1:1 or 1:2:2 is good for an average schedule. The bigger the meal (the fresh flour and water) the longer the starter will take to reach its peak. This is helpful if you’re expanding your starter overnight or won’t be able to use it for many hours after feeding. At a 1:1:1 ratio, your starter may be ready in as few as 3-4 hours, depending on local factors. You can use just about any ratio, but keep the weight of food greater than the inoculating culture (the portion taken from your mother).
If you are not using your starter frequently or any time soon, store a few tablespoons in a closed container in the refrigerator, where the low temps will keep the microorganisms alive but dormant (aka asleep, not eating or hungry). Give it a feed, as above, every couple weeks (once a week is ideal but not necessary) to keep it healthy.
If you forget about it and a dark liquid forms on top, don’t worry. That’s called hooch, and it’s just the water separating from the flour. It does no harm, but tends to make people nervous. Pour it off and feed as usual. Your mother is just feeling a little neglected, but still alive. Unless it smells distinctly bad, has mold growing on it, or is a wild color (light pinkish is ok- the flour tends to turn a rosy hue after some weeks in the fridge), you’re safe.
When you’re ready to bake some bread, begin refreshing the starter a day or two ahead of time (if it’s been kept in the fridge). It’s helpful to give it a couple refreshments before building your levain for baking. At this stage, think of the yeasts and bacterias in your sourdough like groggy teenagers- good kids, just sleepy- waking up after a long night. A few meals will ensure they’re awake and ready to participate to their full potential.
04/20
