Whole Grain Sourdough Challah with Olive Oil
Yields at least one loaf, maybe a few Save recipe PDF
Historically, preference is given to precedence: if I’m first to the apple that hangs between us, I get the apple that hangs between us. For what follows, forget orientation and embrace the arbitrary as guideline.
But, you must determine what is arbitrary, and you must determine the guideline. And before all else, determine if this suggestion is one of the two.

3 eggs
1 egg yolk
60g warm water
60g honey
60g olive oil
200g ripe sourdough, aka levain, cementy in texture. Use less depending on taste, temperature, and stockpile
8g salt
425-450g flour (the best you can do and preferably pretty brown, around 75% extraction*)
1 egg yolk
60g warm water
60g honey
60g olive oil
200g ripe sourdough, aka levain, cementy in texture. Use less depending on taste, temperature, and stockpile
8g salt
425-450g flour (the best you can do and preferably pretty brown, around 75% extraction*)
Egg Wash: 1 egg + 1 Tbsp water
*a clue: whole wheat is 100% extraction
Begin:
Crack the eggs into a bowl and add the other wet ingredients to their broth. Dip your fingers and palm into the puddle and take the levain in one hand, squeezing. If you use both hands you’ll be vulnerable to attack. Try it and see what I mean. The action will feel similar to washing gold in the river, assuming no readers are familiar with that process. The levain will stay in chunks at first, you’ll feel its edges more firmly than before despite its being in and becoming liquid. Just as you think you know it, it will dissolve.
Did you keep a hand clean? It will now become obvious. Add the flour and salt directly on top of the wet ingredients. Move your hand, the soiled one, around the bowl as if miming its shape to itself. Watch flour, a grouping of millions, become dough, a one. If it’s a batter add more flour, if it’s a ball make it closer to a batter.
Keep it wetter than you’d like. This will be the worst of it. Over the next few hours the dough will tighten and become more attracted to itself than to you. In fact, even now it’s drawn mostly to the traces of its own body that you hold in your hands- that’s why it sticks there. The same will be the case for the countertop.
Continue messing for a few minutes on a damp, smooth work surface (wood, marble), or sure, do it in the bowl if you prefer. Fold the dough like an envelope, stroke it like a package, stretch it like a dollar. Throughout, think of your hand as a whole instrument, fingers and palm working together and not in competition with each other. Fingers are liable to jab and pinch when you’re not paying them mind. (Take advantage of other hand tools: a bench knife is an unmatched partner). Work the dough like this for five to ten minutes, as its firm but loving mentor. No entrails on the counter! Keep it together. Eventually you should fold it into a kind of ball, rounded at the edges and relatively smooth on top. It should not readily droop.
The thing about this dough is it will end up basically the same regardless of the sweat you put in. I didn’t want to mention that right off the bat for obvious reasons. I beg you, leave it and return in some time, five or twenty minutes, and witness how it’s worked some things out on its own. Behold our inverse: dough grows smoother and tighter with age.
Dump the dough back onto a counter if it’s not already there. If it’s particularly wet or dry give the work surface a light treatment of its opposite (a spritz of water or oil, a dust of flour). If it still tears easily, stretch the dough and fold it over itself again. Create another ball of tension, tighten the mass into a round and leave to rest in an oiled bowl. Ideally you'll have the night to ferment it in the fridge, which you can do now or after a few hours resting at room temperature.
Give it a shape not a name:
The dough will be much easier to handle once cool and calm, acquiesced to your intentions. Return the dough to a clean work surface. Using a sharp and determined implement, section it into any number of pieces. More or less than four. Be direct and efficient in your butchery, as few incisions as possible.
One at a time, maneuver each hunk into a rough rectangle and lightly flatten, then fold the edges towards the center so they are rounded. There seems to be an inside on the inside and an outside on the outside. A matte skin on the outside, a sheen on the inside. Do you see the difference? Lock the inside inside by folding the piece in half longways and pressing the edges together, then roll into a slender log of undetermined length, hovering around an inch thick, give or take. Your hands are steady and strong, leave the wiggling to the strands. Your palms and fingers should be a single tool again, working with shared intentions- keep them level and firm. The countertop is an ally though it pushes back against you, use it anyhow. If a rope gets snappy, give it a rest and futz with another one, until all are longer than they are short.
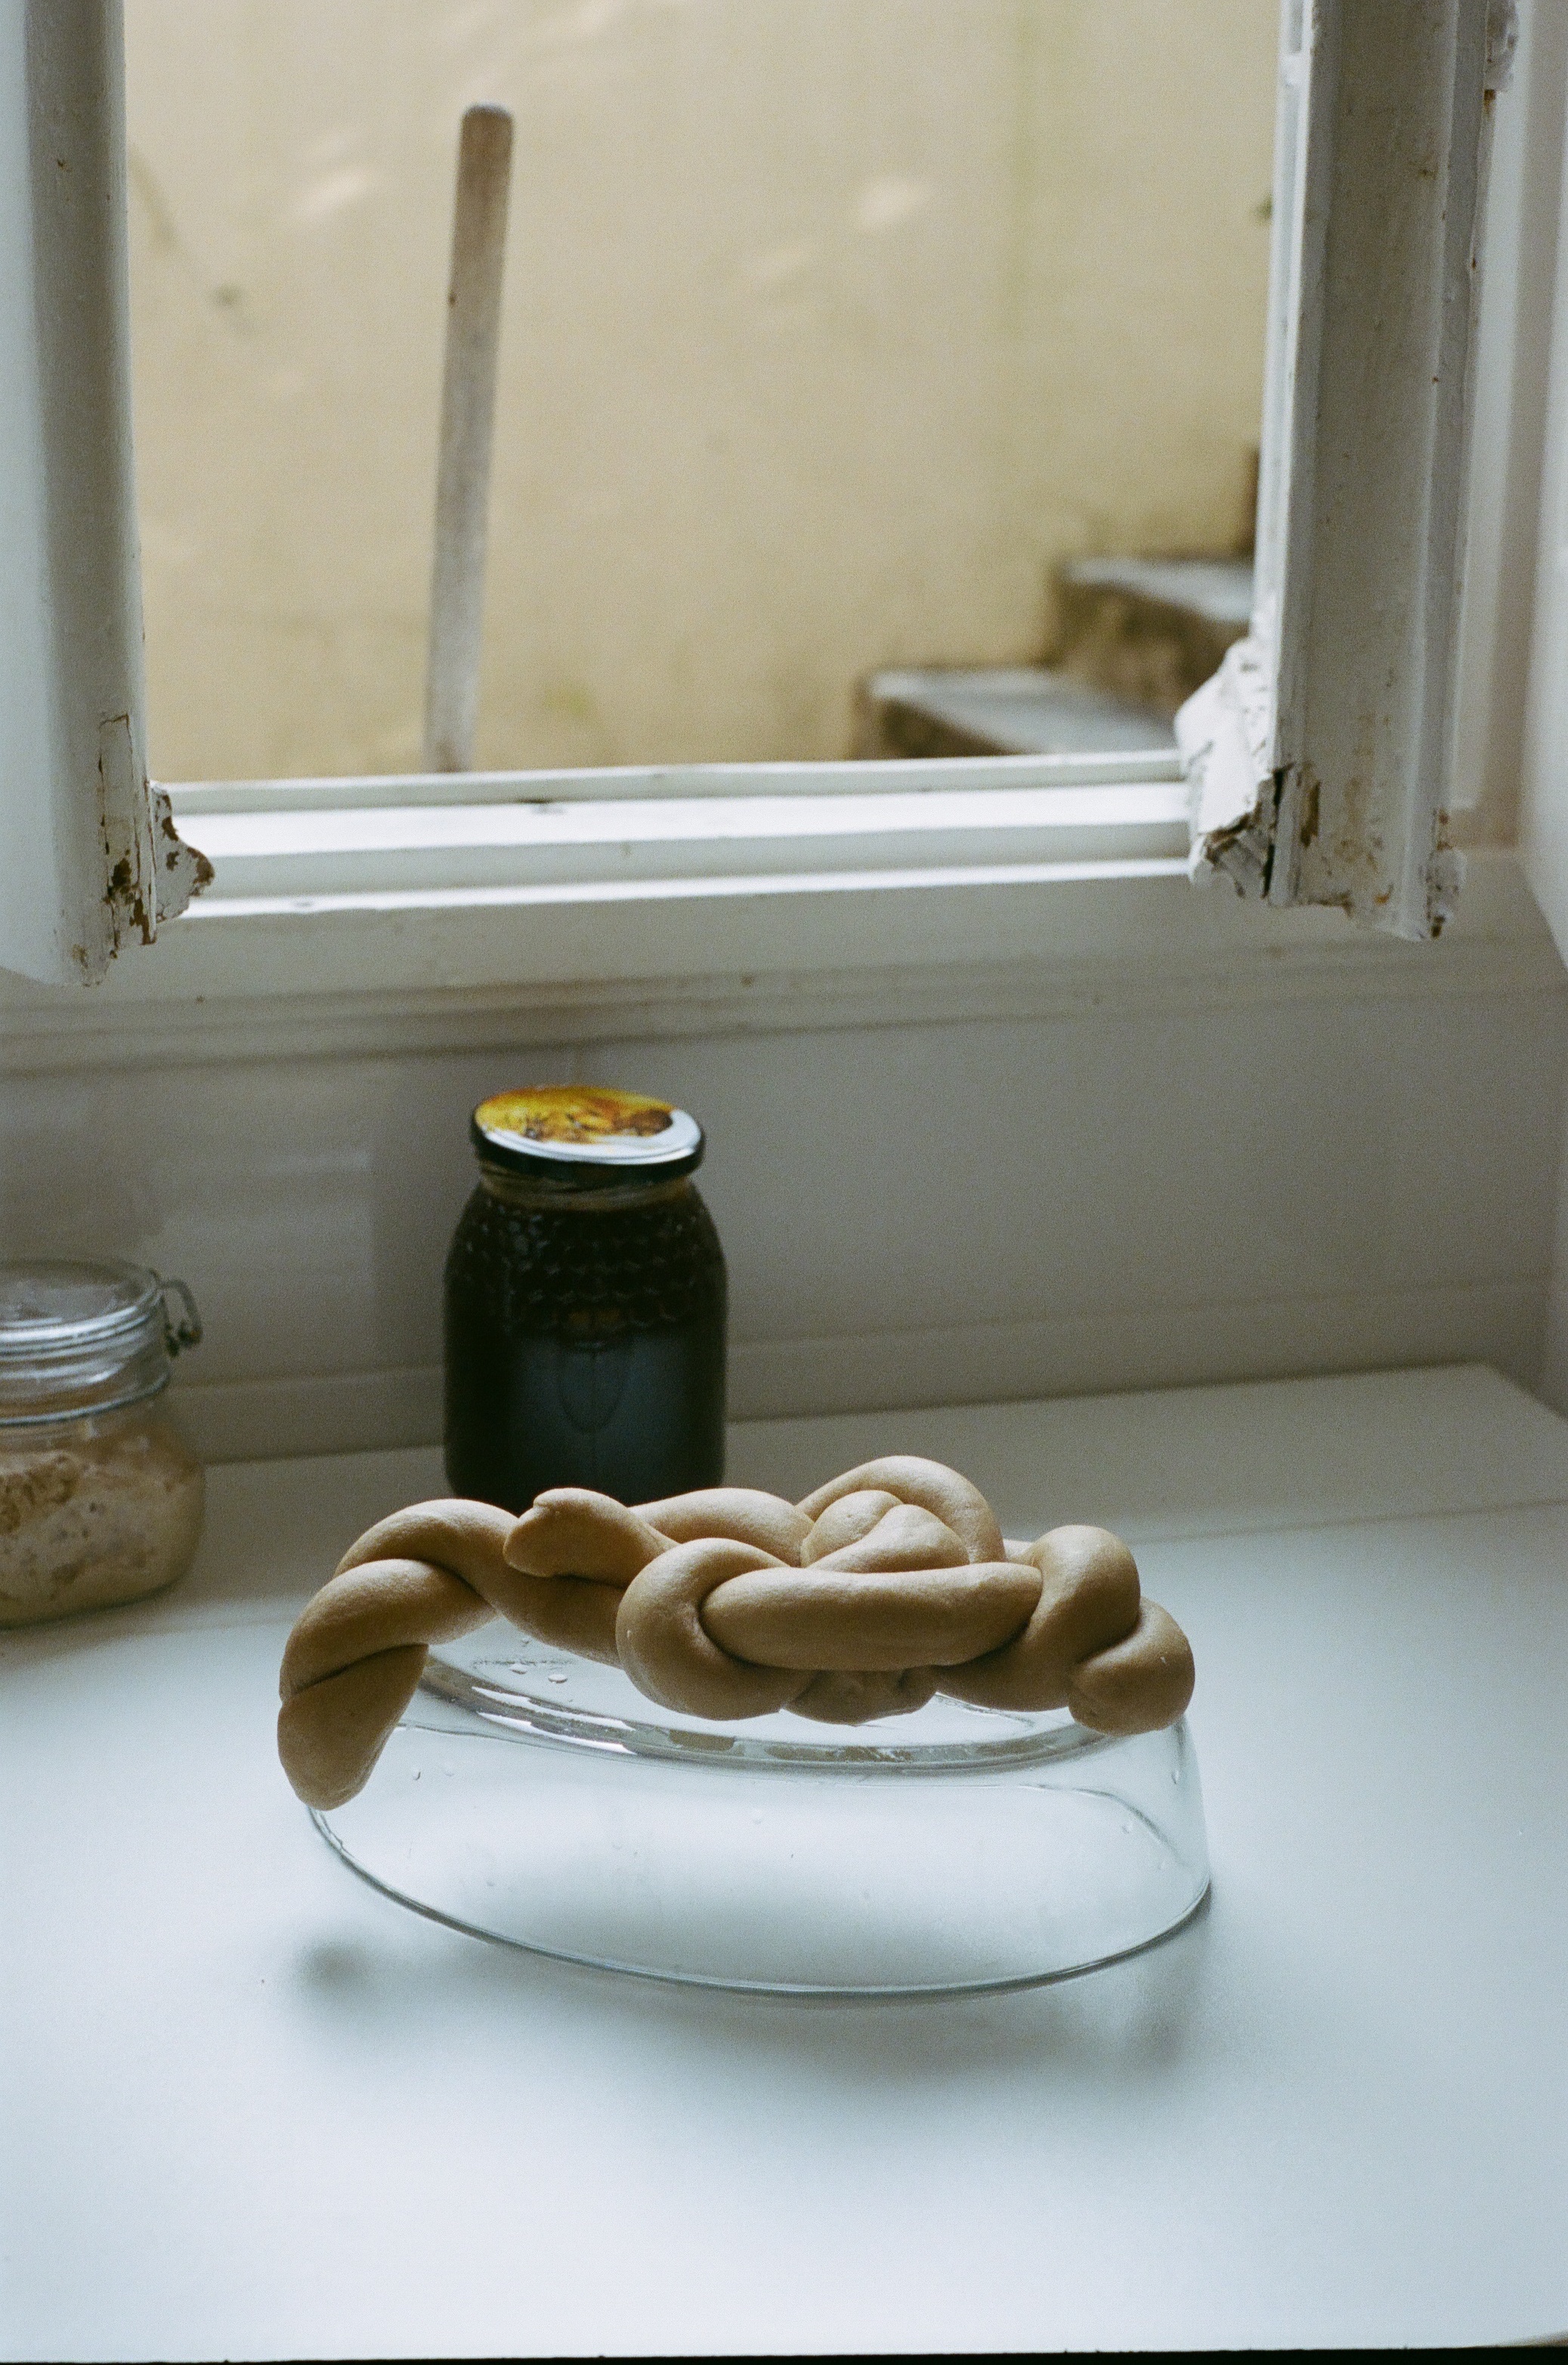
Line a sheet tray with parchment. Assemble your pieces in any arrangement of twists and knots, prepare to accept others’ interpretations of their form, like with clouds, and transfer to the tray.
Let this proof (rise, swell, in other words) for a few hours. The amount of time depends on so much: the density of your loaf, activity of your starter, freshness of grain, your water, your temperature, the rain. Consider this schedule your own. But, if you’re taking suggestions, mine is to preheat your oven to 350 F after about two hours of proofing. Test the dough gently with a fingertip 30 to 60 minutes later; skin to skin. If there is a bit of spring left in it but it responds in slow motion, you’re ready. If it’s still bouncy and agile, it’s not time for the oven yet. Just don’t wait until you leave a distinct impression.
Brush the form with egg wash and bake until showing a rich brown on the busts and a light golden tone in the cleavages, about 25-45 minutes, depending on your shaping.
You’d do yourself and the loaf a service to eat it as soon as possible, as this bread declines at breakneck speed after a day or two. At that point it’s best turned into something else. Even when hard, it remains a prime subject for manipulating.
11/19