Loafing
07/18An editorial by David Brandon Geeting and Lexie Smith for FFF Zine, Volume 3
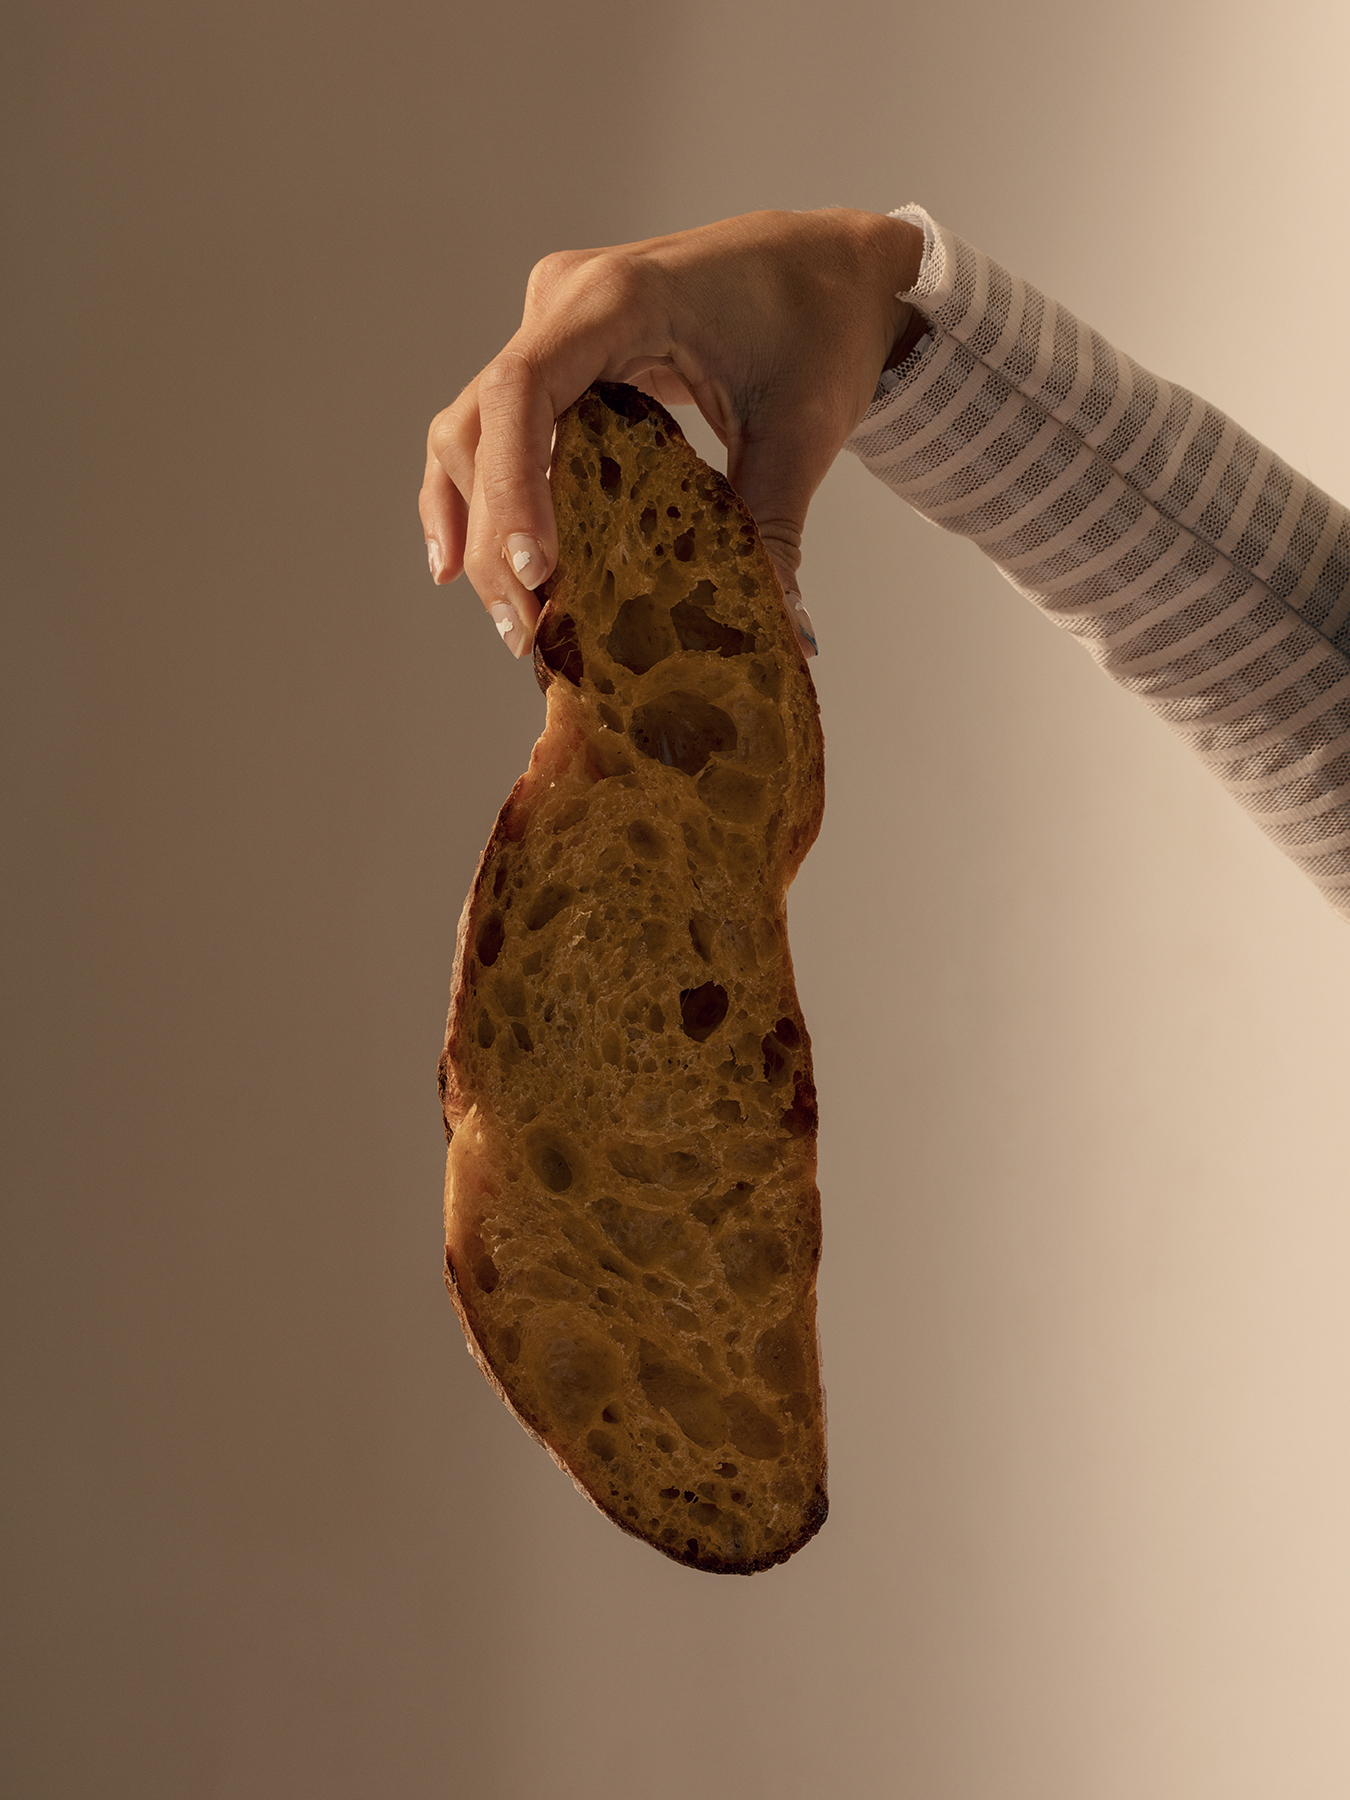
Recipes for all pictured breads are down below. A special nudge is made towards the Sweet Potato Slug, beloved for both name and taste. It is the one sucked on, gone to bed with, and coddled in the last slew of images.


And, for ease of replicating:
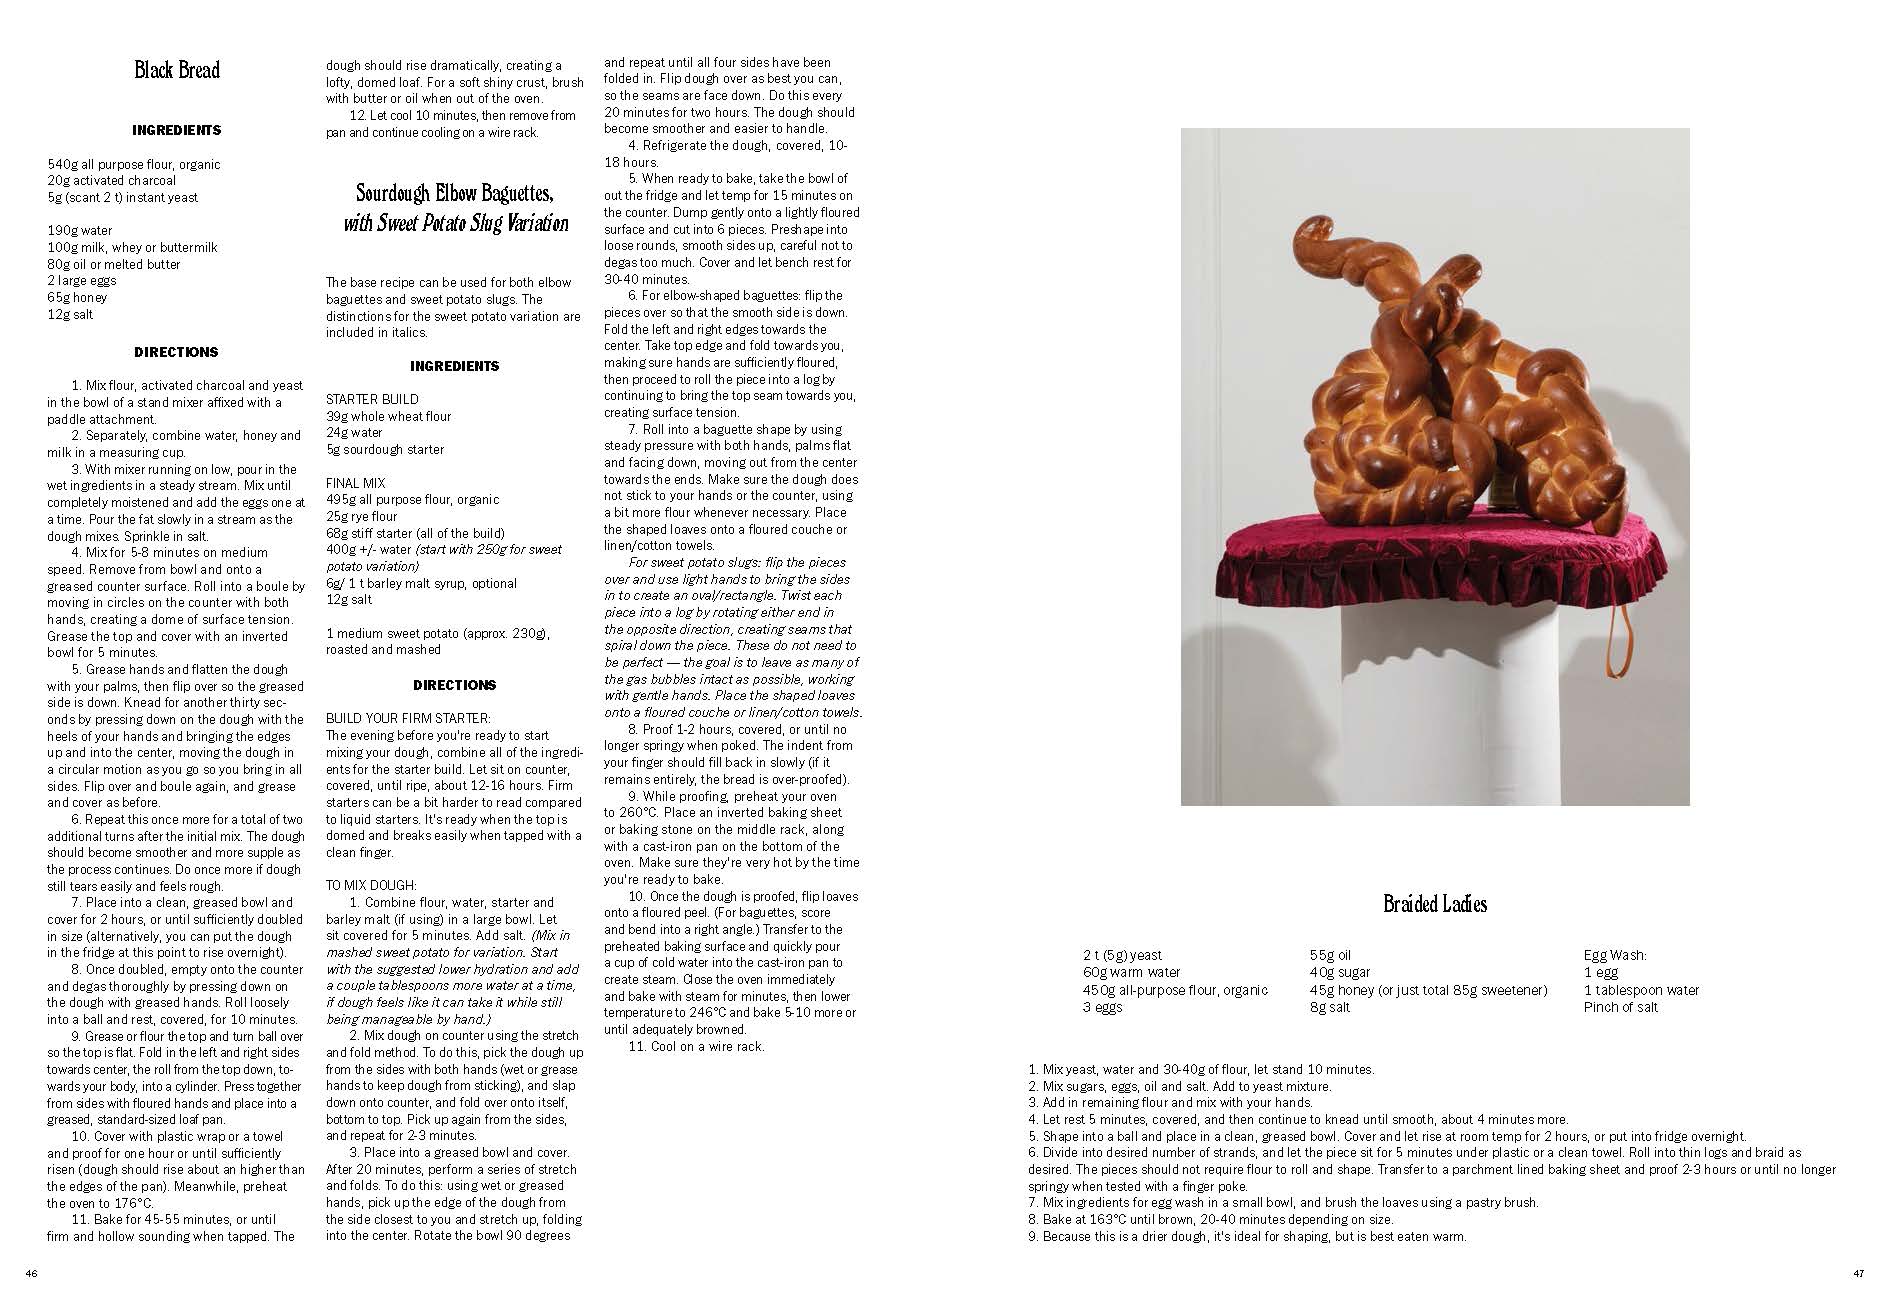
SOURDOUGH ELBOW BAGUETTES with SWEET POTATO SLUG VARIATION
The base recipe can be used for both elbow baguettes and sweet potato slugs.
The distinctions for the sweet potato variation are included in italics.
INGREDIENTS
Starter Build:
39g whole wheat flour
24g water
5g sourdough starter
Final Mix:
495g all purpose flour, organic
25g rye flour
68g stiff starter (all of the build)
400g +/- water (start with 250g for sweet potato variation)
6g/ 1 t barley malt syrup, optional
12g salt
1 medium sweet potato (approx. 230g), roasted and mashed
DIRECTIONS
Build your firm starter:
The evening before you’re ready to start mixing your dough, combine all of the ingredients for the starter build. Let sit on counter, covered, until ripe, about 12-16 hours. Firm starters can be a bit harder to read compared to liquid starters. It’s ready when the top is domed and falls easily when the container is tapped.
To make the breads:
1. Combine flour, water, starter and barley malt (if using) in a large bowl. Let sit covered for 5 minutes. Add salt. (Mix in mashed sweet potato for variation. Start with the suggested lower hydration and add a couple tablespoons more water at a time if dough feels like it can take it while still being manageable by hand.)
2. Mix dough on counter using the stretch and fold method. To do this, pick the dough up from the sides with both hands (wet or grease hands to keep dough from sticking), and slap down onto counter, and fold over onto itself, bottom to top. Pick up again from the sides, and repeat for 2-3 minutes.
3. Place into a greased bowl and cover. After 20 minutes, perform a series of stretch and folds. To do this: using wet or greased hands, pick up the edge of the dough from the side closest to you and stretch up, folding into the center. Rotate the bowl 90 degrees and repeat until all four sides have been folded in. Flip dough over as best you can so the seams are face down. Do this every 20 minutes for two hours. The dough should become smoother and easier to handle.
4. Refrigerate the dough, covered, 10-18 hours.
5. When ready to bake, take the bowl of out the fridge and let temp for 15 minutes on the counter. Dump gently onto a lightly floured surface and cut into 6 pieces. Pre-shape into loose rounds, smooth sides up, careful not to degas too much. Cover and let bench rest for 30-40 minutes.
6. For elbow-shaped baguettes: flip the pieces over so that the smooth side is down. Fold the left and right edges towards the center. Take top edge and fold towards you, making sure hands are sufficiently floured, then proceed to roll the piece into a log by continuing to bring the top seam towards you, creating surface tension.
7. Roll into a baguette shape by using steady pressure with both hands, palms flat and facing down, moving out from the center towards the ends. Make sure the dough does not stick to your hands or the counter, using a bit more flour whenever necessary. Place the shaped loaves onto a floured couche or linen/cotton towels.
For sweet potato slugs: flip the pieces over and use light hands to bring the sides in to create an oval/rectangle. Twist each piece into a log by rotating either end in the opposite direction, creating seams that spiral down the piece. These do not need to be perfect — the goal is to work with gentle hands. Place the shaped loaves onto a floured couche or linen/cotton towels.
8. Proof 1-2 hours, covered, or until no longer springy when poked. The indent from your finger should fill back in slowly (if it remains entirely, the bread is over-proofed).
9. While proofing, preheat your oven to 260°C/ 500°F. Place an inverted baking sheet or baking stone on the middle rack, along with a cast-iron pan on the bottom of the oven. Make sure they’re very hot by the time you’re ready to bake.
10. Once the dough is proofed, flip loaves onto a floured peel. (For baguettes, score and bend into a right angle.) Transfer to the preheated baking surface and quickly pour a cup of cold water into the cast-iron pan to create steam. Close the oven immediately and bake with steam for minutes, then lower temperature to 246°C/ 475°F and bake 5-10 more or until adequately browned.
11. Cool on a wire rack.
